Interior Design Living Room Drawing: Your Space, Perfected
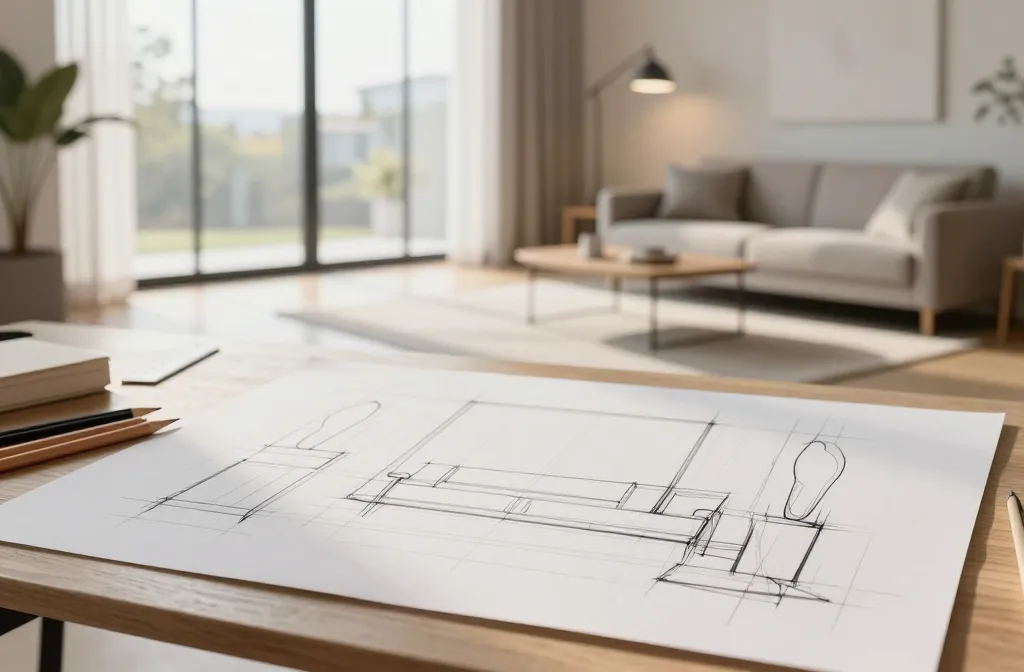
We all have that moment when we stand in a living room and think: can a drawing actually fix the space? Spoiler: yes, if you sketch with intention. A well-thought-out interior design living room drawing can be your secret weapon—your plan, your vibe, your path from chaos to cozy.
But let’s be real: a drawing isn’t just a pretty doodle. It’s a blueprint for color, scale, and flow. It’s the difference between “meh” and “that looks intentional.” So grab a notebook, your favorite pencil, and a coffee that’s actually decent. We’re about to turn scribbles into space magic.
What a living room drawing actually does for you
– It translates ideas into measurements. No more “I think the sofa could fit here.” The drawing shows you if the couch, rug, and coffee table will coexist without tripping over themselves.
– It tests scale before you buy. You can compare the footprint of furniture to the room’s real dimensions and avoid the awkward party of oversized chairs.
– It clarifies lighting and mood. You can plan where lamps go, where natural light hits, and how each corner will feel at night.
– It reveals circulation paths. You’ll spot if people will bump into the coffee table while reaching for the remote. Guilty party: your future self.
Start with a clean canvas: the basics you should map out
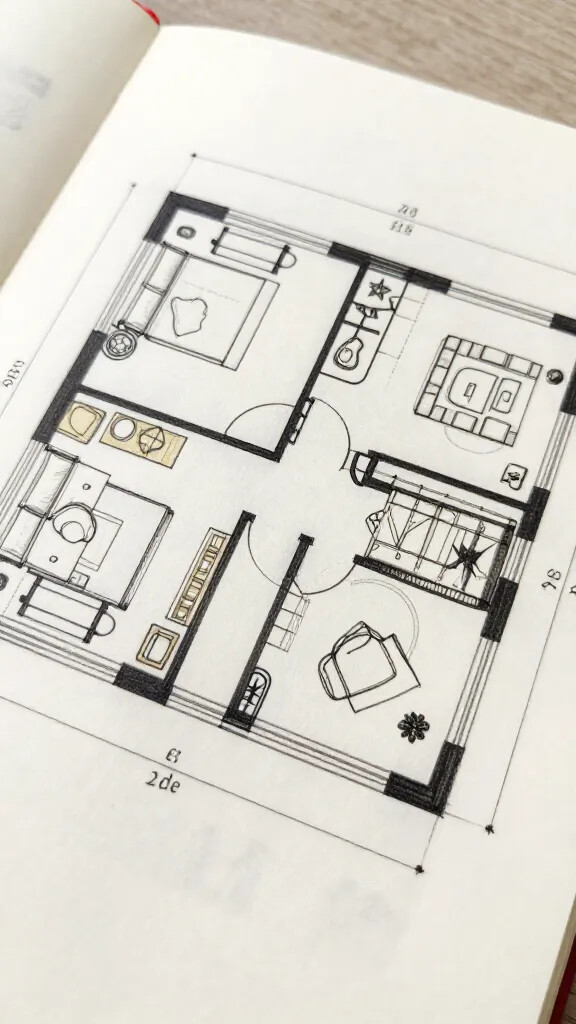
– Room measurements: walls, doorways, window placements, and ceiling height. No guesswork here—measure twice, draw once.
– Furniture footprints: sketch the major pieces to scale. You don’t need fancy software; a simple grid and ruler work wonders.
– Traffic flow: mark clear paths (ideally 36–42 inches wide). If you trip over a sofa leg every time you go from the kitchen, you’re doing it wrong.
– Focal point: fireplace, view, or statement art. Decide what anchors the room before choosing everything else.
Choosing a layout that actually feels good
– The classic “two-sofa” layout: perfect for conversation and social vibes. It can feel formal, so soften with a rug and warm lighting.
– The sofa-as-divider approach: place a sofa to define the living area and open up the rest of the space with a coffee table and chairs.
– The one-listener layout: you want a comfy setup for streaming, board games, and long chats. A low-profile sofa with movable chairs keeps things flexible.
– Pro tip: draw multiple layout options on the same page. Your future self will thank you for not settling on the first idea that popped into your head.
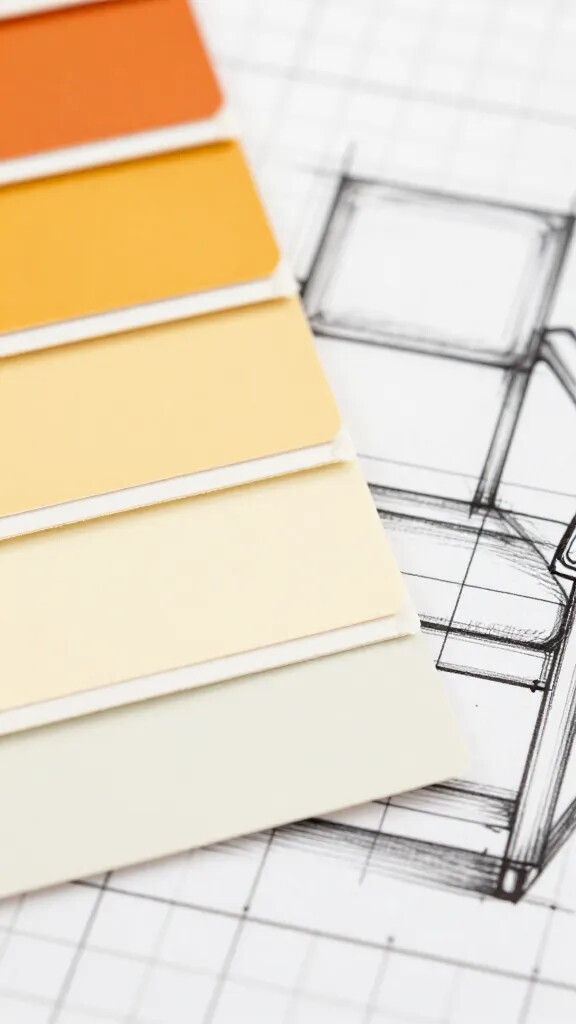
Color and texture on the page: planning the mood
– Start with a base palette: 2–3 neutrals and 1 or 2 accent colors. Your drawing should show swatches next to each piece so you can see harmony.
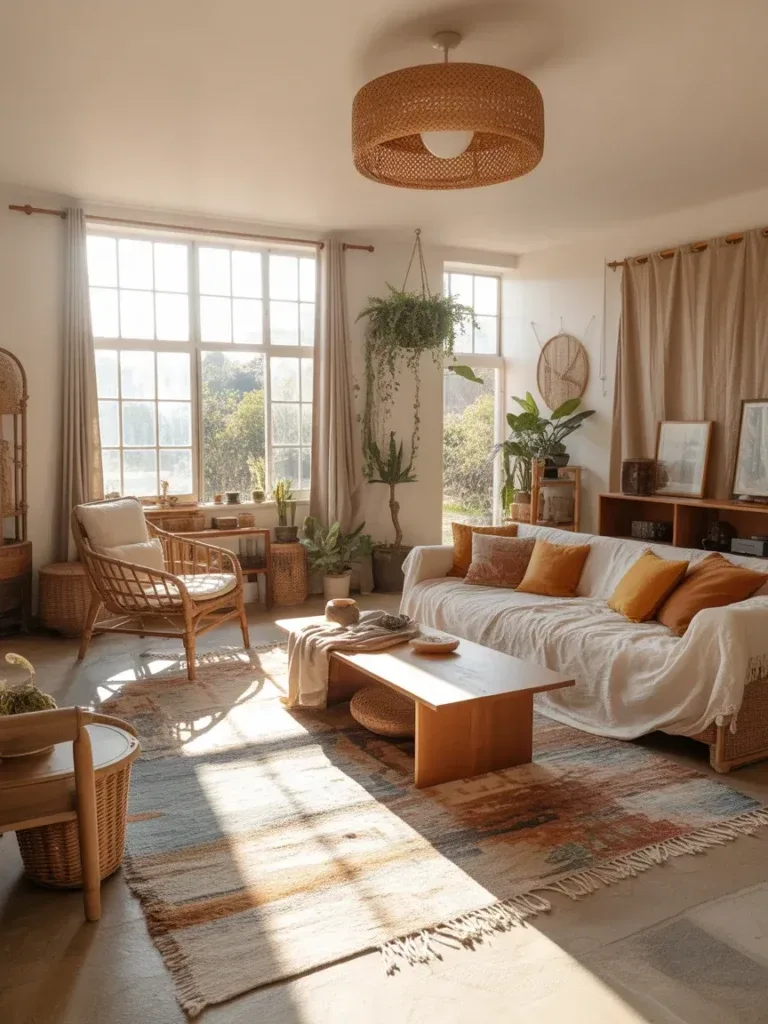
– Texture map: note where you’ll layer velvet, linen, wood, or metal. Visual variety is the spice of life—and the secret to staying interesting.
– Light play: indicate window light directions and where you’ll place warm vs. cool lighting. FYI, warm lighting makes spaces feel intimate; cool lighting feels crisp and modern.
– Accessibility angle: high-contrast combos and legible patterns help everyone enjoy the space. If your drawing looks chaos-y, you’re likely in trouble.
Furniture scale and placement: the practical bits
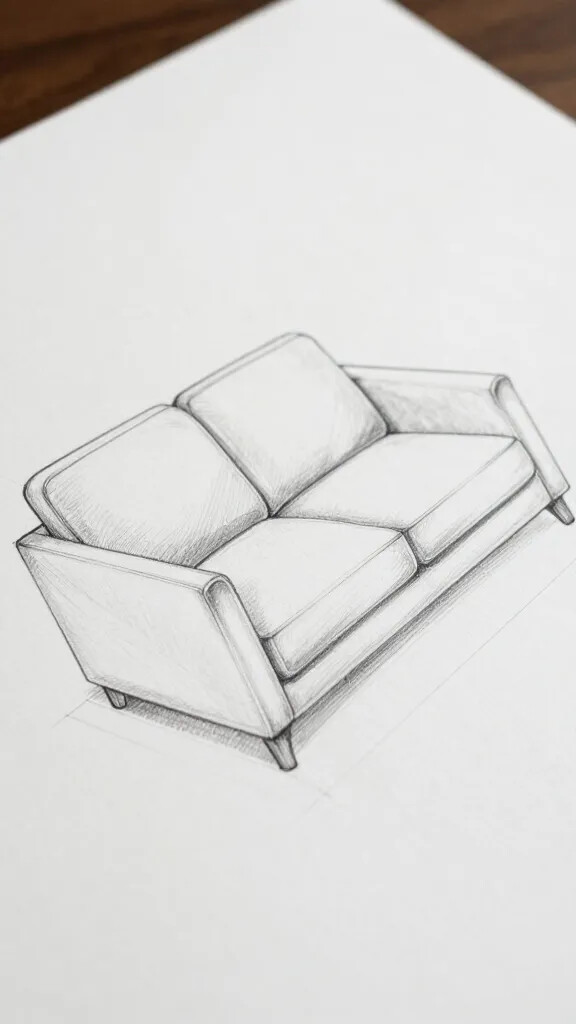
– Sofa size: measure length and depth, then compare to wall length. A sofa that dominates the room can crush the vibe.
– Rugs: a rug should ground the seating area. A good rule is all front legs of furniture on the rug. Your drawing should show this so you don’t end up with a floating coffee table.
– Coffee tables and side tables: leave enough legroom to breathe—about 16–18 inches between sofa and table is comfy.
– Chairs and ottomans: they’re the flexible friends. Show a couple of these as lightweight anchors that can shift with your moods.
Lighting as the unsung hero
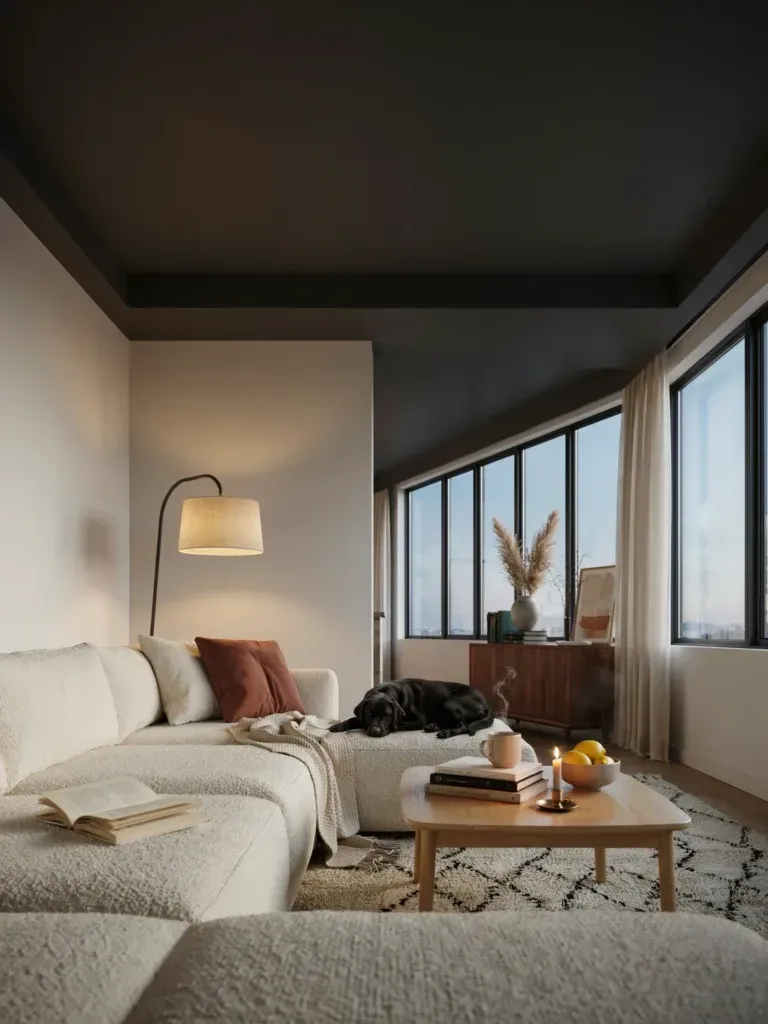
– Layered lighting: ambient, task, and accent. Your drawing should indicate ceiling fixtures, floor lamps, and table lamps.
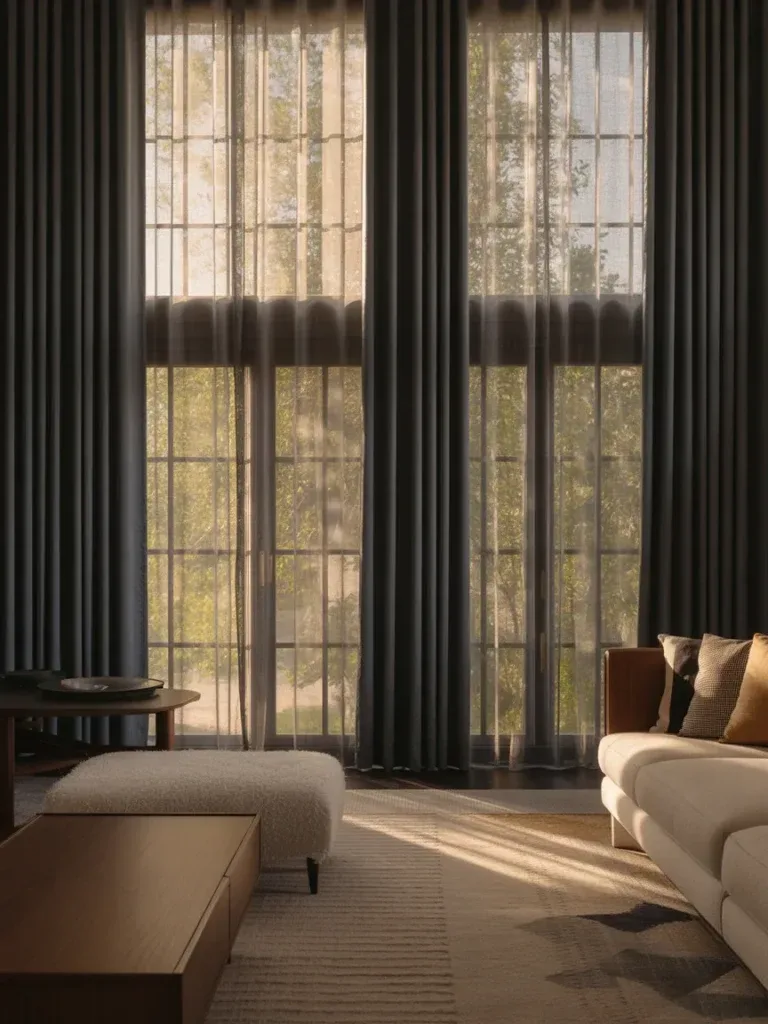
– Natural light mapping: note where blinds or curtains will live and how they’ll affect the glow during different times of day.
– Accent touches: a trusted lamp by the reading nook, a wall sconce to highlight art, and a small uplight for atmosphere. Don’t overdo it; you’re not a lighthouse.
Storage and clutter control: keep the room forgiving
– Built-ins vs. free-standing: your sketch should show where you’ll tuck away tchotchkes, remotes, and that ever-growing pile of magazines.
– Display zones: designate spaces for books, plants, and ceramics. A neat drawing helps you avoid “too much stuff in every corner” disaster.
– Color-controlled storage: integrate closed storage to keep the room calm. Your future self will thank you for not having to play hide-and-seek with clutter.
Subsection: detailing elements that make or break the space
Flooring transitions
– If you’re mixing materials, show where one ends and the other begins. A crisp line is okay; a messy overlap is not.
– Rugs should anchor zones. On the page, draw rug edges that clearly define seating areas.
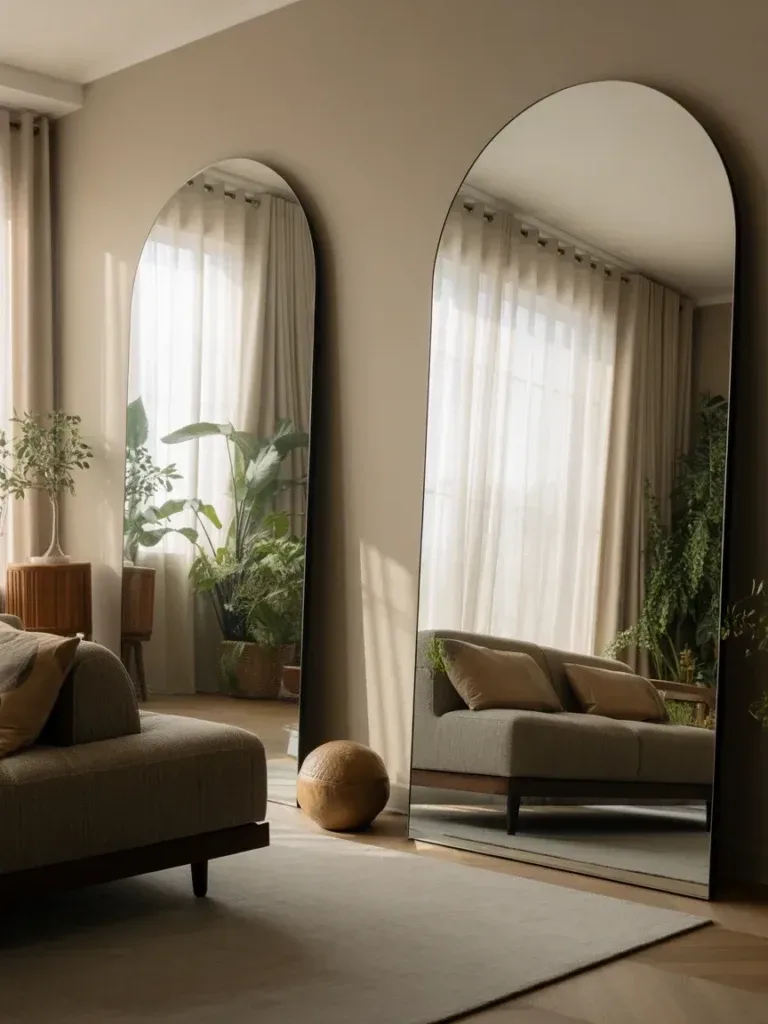
Art and personality
– Plan a main art piece and a few supporting accents. A good drawing helps you gauge scale and impact before you commit to nail holes and hooks.
– Gallery wall layout: sketch a few arrangements. A tidy grid can feel formal; a salon-style cluster feels energetic. Decide the vibe on the drawing first.
Bringing it all together: honing your final plan
– Iterate and critique: compare at least 2–3 layouts. Which one invites conversation? Which one feels easy to live in?
– Test with a mock overlay: use tracing paper or a second sheet to test furniture shifts without starting from scratch.
– Communicate clearly: share the drawing with housemates or a designer. A good plan avoids “we’ll know it when we see it” chaos.
FAQ
Do I need fancy software to do a living room drawing?
Yes and no. Fancy tools are great, but not required. A simple grid, rulers, and a pencil work just fine. If you want digital, start with a basic floor plan app or a drawing program. The point is to keep measurements accurate and the layout readable.
How accurate should my measurements be?
Be precise enough to avoid buying furniture that won’t fit. Measure twice, draw once. Include wall thickness and door swing space, especially if you’re placing a sofa near a doorway.
Is it okay to mix styles in a drawing?
Absolutely. A drawing helps you test a mix before you commit. You can experiment with Scandinavian lines, mid-century curves, and a touch of maximalist color without buying a single piece.
How detailed should the final drawing be?
Aim for clarity: scale the major pieces, show rug edges, lighting placements, and traffic paths. You don’t need a blueprint—but you do want enough detail to guide purchases and placement.
What if I change my mind after buying everything?
That’s life. A good drawing makes it easy to revise. You can map new furniture footprints, adjust rug sizes, and re-check clearance without tears and coffee-stains on the carpet.
How can I add personality without losing function?
Add a few bold accents, like a statement lamp or a colorful throw, and map them on the drawing. If it boosts mood and doesn’t hinder use, you’re golden. IMO, personality is what makes a space feel alive.
Conclusion
A living room drawing isn’t just a doodle. It’s your game plan for a space that feels both living and loved. It translates dreams into proportions, mood into light, and impulse into order. With a solid sketch, you’ll sidestep buyer’s remorse, awkward layouts, and that undeniable “where did we put the remote again?” moment.
So grab those pencils, start sketching, and treat the page like a test drive for your room. Your future living room will thank you with better conversations, cozier nights, and fewer “offline” moments when you realize you can actually reach the sofa without a wrestling match. If you want, share a photo of your finished drawing and I’ll help you troubleshoot layout tweaks. FYI, the best rooms start as humble lines on paper—and end as spaces you actually enjoy living in.