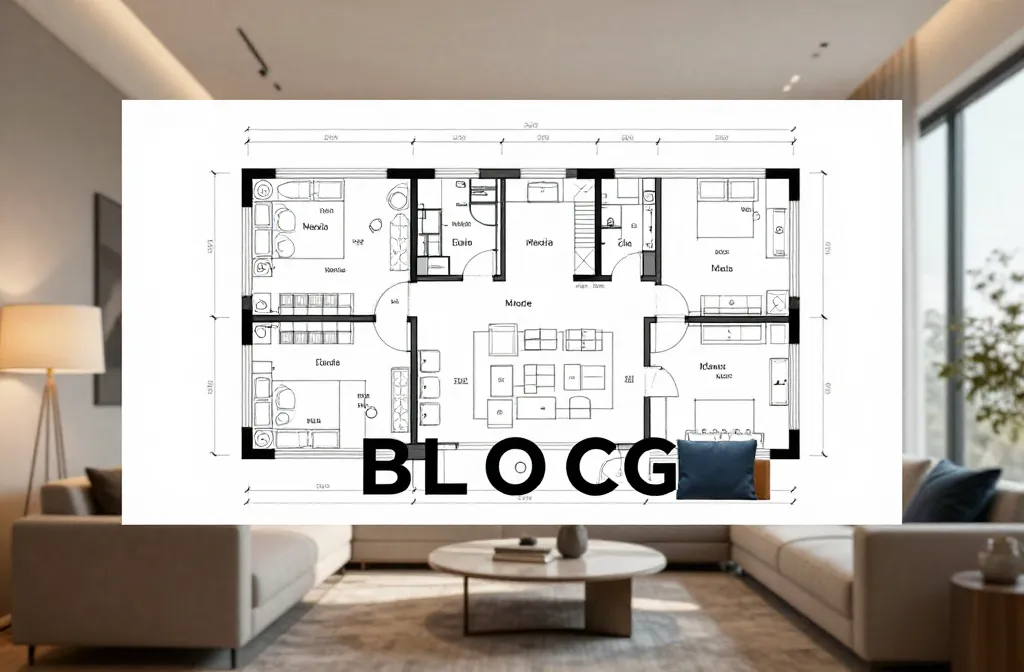
Interior Design Living Room Sketch: Quick, Visual Blueprint for Vibes
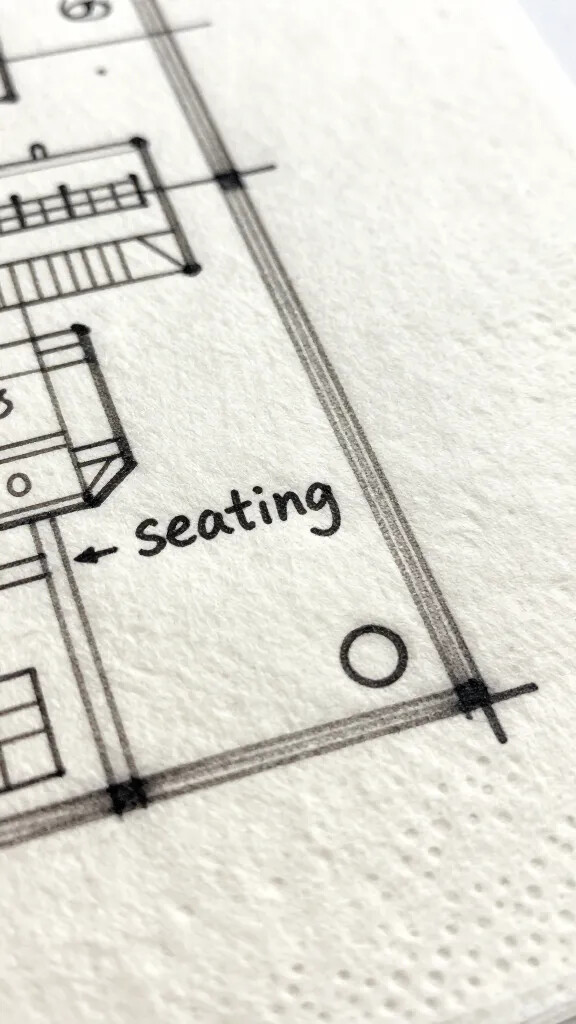
A rough drawing on a napkin can unlock a room’s personality faster than hours of scrolling for inspiration. That’s the value of an interior design living room sketch — it turns mood, scale, and flow into something you can actually work from, without needing a full spec sheet or professional software. Here’s how to sketch a living room that helps you design, not just draw pretty lines.
Quick-Reference: Key Takeaways
- A living room sketch saves you from moving the sofa three times and helps you spot bad sightlines before you commit.
- Keep furniture blocks roughly to scale — a 84-inch sofa should be drawn at roughly that length, not eyeballed.
- Leave 36–42 inches of walkway space for main traffic paths through the room.
- A sofa-and-two-chairs triangle is a reliable starting point for a natural conversation zone.
- Sketch lighting layers — ambient, task, and accent — directly on the plan, along with outlets and switches.
What a Living Room Sketch Actually Does for You
You don’t need fancy software to capture the vibe you’re after. A sketch translates mood, scale, and flow into something you can live with — a blueprint for furniture placement, lighting cues, and color decisions without the theater of a full rendering.
- It saves you from rearranging furniture three times after the fact.
- It helps you spot sightlines and pinch points you’d otherwise only notice once everything’s delivered.
- It makes collaboration easier when a roommate, partner, or family member wants a say in the layout.
Choosing Your Sketching Toolset
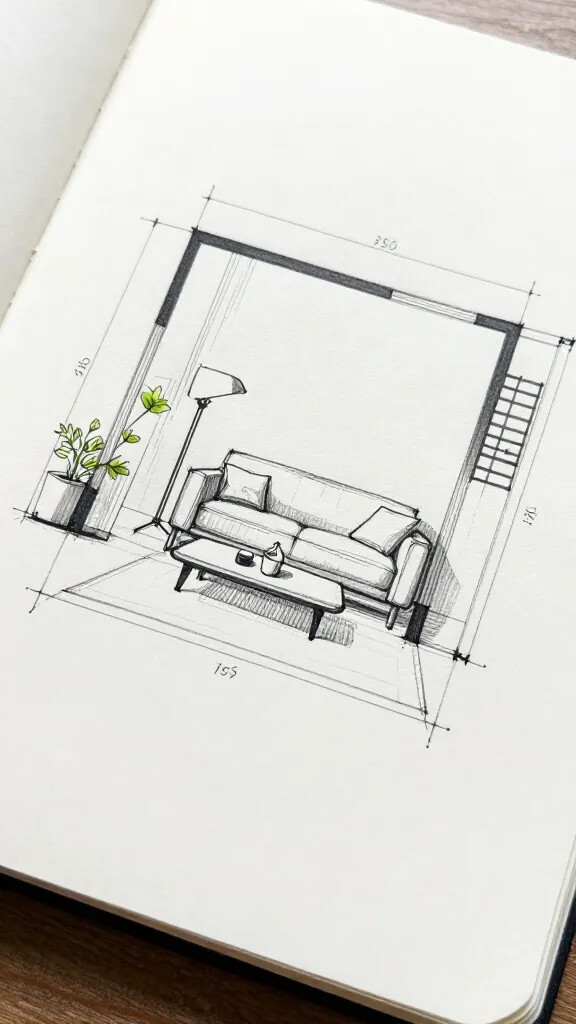
You don’t need to go pro here. Start with the basics among interior design tools and upgrade only if you fall in love with the process.
- Paper or tablet: paper is tactile and fast; a tablet with a stylus makes edits easier.
- Pencil weight: a soft pencil is forgiving for awkward lines, while a fine liner gives crisp furniture silhouettes — useful if you’re building toward interior line art you’d want to keep.
- Color strategy: use a few purposeful colors to indicate furniture, flooring, and accents rather than coloring everything in.
Quick Rules for Lines and Proportions
- Keep furniture blocks roughly to scale — draw an 84-inch sofa at about that length on the page.
- Use grid paper, or a light grid in a drawing app, to keep everything aligned.
- Don’t chase perfection. A first sketch just needs to be legible, not gallery-worthy.
Layout Logic: Where Things Actually Belong
A living room lives and breathes through flow. Your sketch should answer where traffic goes, where you lounge, and where the TV setup lives. If you can’t trace a clear path across the room without dodging furniture, the layout needs another pass.
- Traffic paths: leave at least 36–42 inches for main walkways.
- Focal point: a fireplace, window, or media wall — plant your seating around it.
- Conversation zones: group chairs and the sofa so they invite conversation rather than face a blank wall.
Seating Harmony: The Three-Point Rule
A sofa and two chairs form a natural triangle that makes conversation easy. If you’re working with a long couch, pair it with two smaller chairs to avoid a conversational bottleneck. Symmetry isn’t required — a bit of variety in shapes and heights can feel just as inviting.
Light Up the Sketch: Layering Lighting in Your Plan
Lighting changes the mood of a room faster than almost anything else, so it deserves its own layer on the sketch.
- Mark ambient lighting — ceiling fixtures or floor lamps that set the baseline.
- Add task lighting — reading lamps, side table lamps, and any TV-adjacent lighting.
- Note accent lighting — wall sconces or LED strips that highlight art or texture.
Place a dimmer in each major lighting zone if you can, mark switch locations for quick reference, and note window directions and curtain thickness so you know how natural light shifts through the day.
Textiles, Textures, and the Color Story
A sketch isn’t just about shapes — it’s about mood. The textile choices you note here guide real decisions later.
- Start with a neutral base: a calm sofa color helps everything else pop.
- Introduce texture through boucle, linen, velvet, or a tactile rug to add depth.
- Pick 2–3 bold accent colors to weave through pillows, throws, and art.
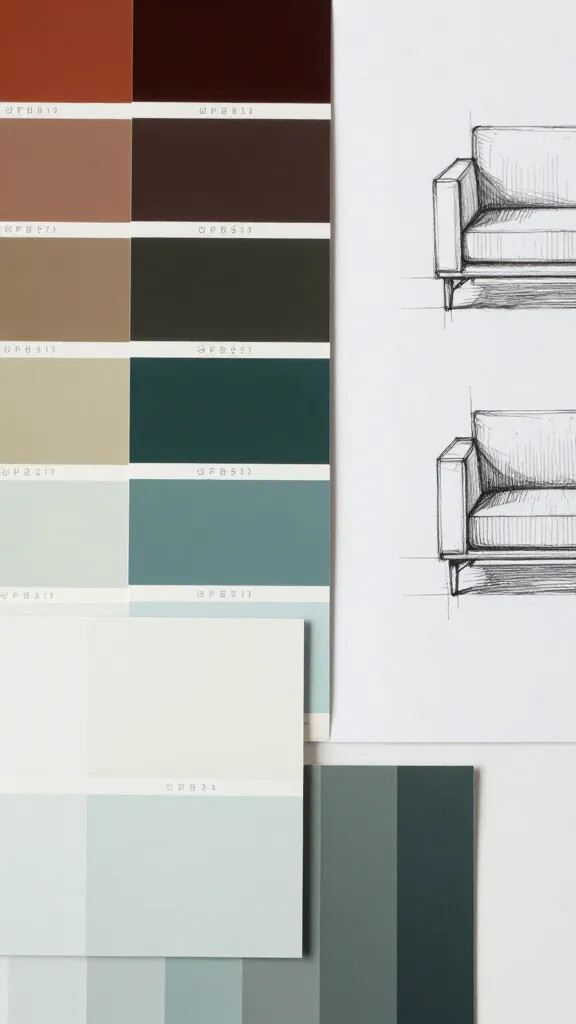
How to Sketch Color Without Committing to Swatches
- Use colored pencils or small sticky notes to mark accents.
- Create tiny color swatches in the margins of your sketch.
- Note the finish you want — matte, satin, or shiny — since it affects how light hits each surface.
Keeping the Sketch Practical
A great sketch doesn’t just look good — it helps you live better in the finished room.
- Measure twice, buy once: write actual measurements directly on the sketch.
- Storage without clutter: mark where baskets, shelves, and cabinets will go.
- Accessibility: make sure controls, outlets, and seating stay easy to reach.
Smart Layout Tweaks to Test on Paper
- Try swapping the sofa from window-facing to wall-facing to improve screen visibility.
- Pull the coffee table closer if knees keep bumping under it.
- Add a small desk corner if you need a work-from-home nook.
From Sketch to Real Life: Turning Lines Into Decor Decisions
Your sketch is a roadmap, not a finished decorative plan. The next step is translating lines into items you can actually buy, borrow, or DIY.
- Prioritize a few anchor pieces first: sofa, rug, media console.
- Measure doorways and stairwells ahead of time to avoid delivery-day surprises.
- Mix quick wins with upgrades — buy affordable basics first, then layer in statement pieces over time.
Once your basic shape is set, browsing full-room examples can help confirm the direction — these living room decor ideas are a good next stop.
Budget-Aware Sketching
- Set aside an amount for major pieces, then a smaller cushion for textiles.
- Use the sketch to compare furniture silhouettes side by side on one page.
- Don’t overcommit early — the layout can always be tweaked later.
Things to Consider Before You Finalize Your Sketch
- Have you marked outlets, switches, and cords for any electronics?
- Does your traffic flow leave at least 36 inches of clearance through main paths?
- Have you noted window directions and curtain thickness for natural light?
- Have you tested more than one layout before settling on a final version?
FAQ: Interior Design Living Room Sketches
Do I need professional-grade sketching skills?
No. The sketch just needs to convey space, flow, and feel. Even rough lines give you a clearer starting point than gut instinct alone.
What’s the best starting size for a living room sketch?
Start simple: sketch the room outline, mark doors and windows, then place a couple of furniture blocks to establish scale. You can refine the details later once the base layout feels right.
How detailed should I make the color in the sketch?
Be selective — a few color notes for accent pieces are usually enough. If you want to test combinations, create small swatches on the side and note how they read under warm versus cool lighting.
Should I include electronics in my sketch?
Yes, especially the TV, speakers, and console. Marking outlets and cords early helps you avoid discovering the console sits a few inches from the nearest plug after everything’s already been bought.
What if I don’t like my initial layout after living with it?
That’s the advantage of sketching first — you can redraw it. Move a sofa footprint, swap chairs, or resize a rug in the next pass; small changes on paper often lead to noticeably better results in the room.
Our Verdict
An interior design living room sketch isn’t about artistic skill — it’s about clarity: where people sit, how the room flows, and what the color choices communicate. Start simple, iterate on paper before you buy anything, and let practicality guide the creative decisions. Once your sketch lines start matching real furniture and proportions, layout decisions get noticeably easier.
For style direction once your layout is settled, these mid-century modern living room ideas and modern boho living room ideas are useful next reads.