Open Plan Kitchen Living Room UK: Design Guide, Layout Tips and Planning Permission Considerations
I often find open plan kitchen living rooms transform how you use your home, blending cooking, eating and relaxing into one sociable space that fits modern UK life. You’ll discover practical guidance on planning, layout and styling to make an open plan scheme work for your household and your home’s footprint.

This article guides you through key considerations—from how to zone areas to solving storage and flow—so you can make confident decisions without getting overwhelmed. I’ll share clear, proven approaches and design thinking to help you shape a space that feels both functional and welcoming.

- High Quality Materials: The New Life large planters for outdoor and indoor plants are made of premium resin, durable and…
- Perfect Size: Dimensions of the succulents planter is 12.6″(H) x 7.7″(L) x 4.7″(W), Weight: 1.65 lbs, just the right siz…
- Drainage Hole: Unique planter designed with bottom drainage hole(with Plug) to effectively drain excess water. Wide and …
Planning Considerations for Open Plan Kitchen Living Rooms
I focus on practical choices that affect light, layout, and daily use. Decisions about windows, finishes, furniture placement and circulation determine how well the space functions for cooking, dining and relaxing.
Maximising Natural Light
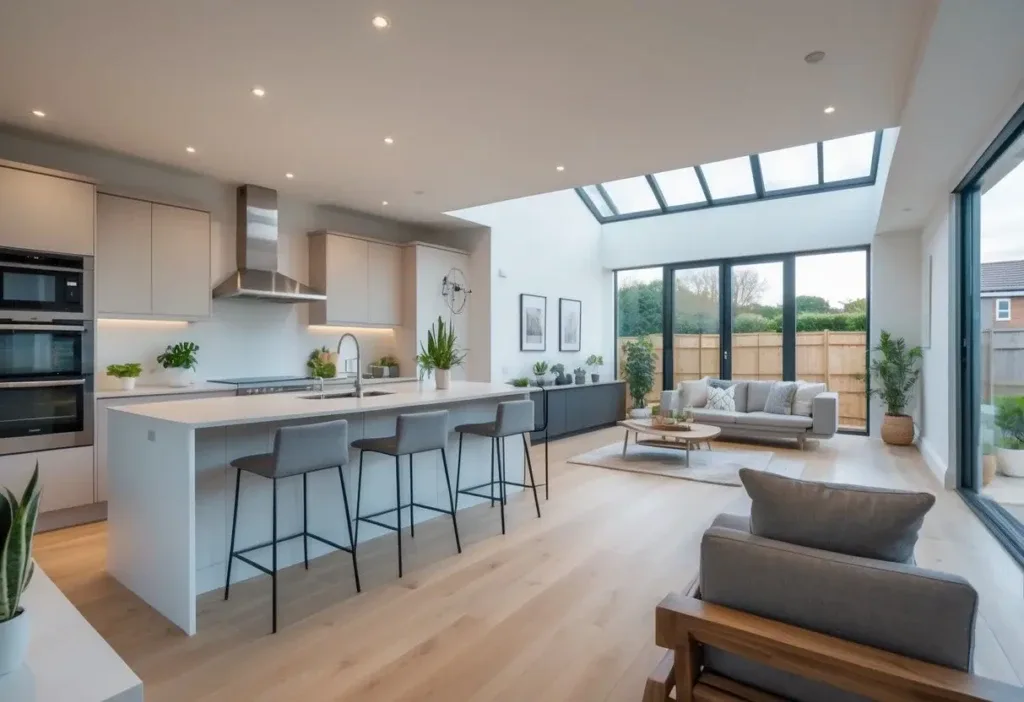
I prioritise window placement and glass area first. Where possible I specify floor-to-ceiling glazing or large bi-fold/slider doors on the garden-facing elevation to bring daylight deep into the plan. If planning or budget limits glazing, I suggest adding a rooflight over the kitchen work zone and slimline clerestory windows above eye level to increase light without losing wall storage.
I choose finishes to reflect light: pale, low-sheen paint on ceilings and upper walls, light-coloured kitchen units, and a reflective splashback (glass or polished stainless steel). I use zonal artificial lighting — task lights under cabinets and pendant lights over the island — to maintain bright work surfaces after dusk.
Consider solar orientation: place primary living areas and glazing to the south or west where possible, and include external shading (awnings or brise-soleil) to prevent overheating in summer.
Optimising Flow and Zoning
I design clear circulation routes that avoid cutting through the main work triangle. I keep a continuous path at least 1m wide between kitchen run and island, and 1.2–1.5m for main thoroughfares to accommodate two people passing comfortably.
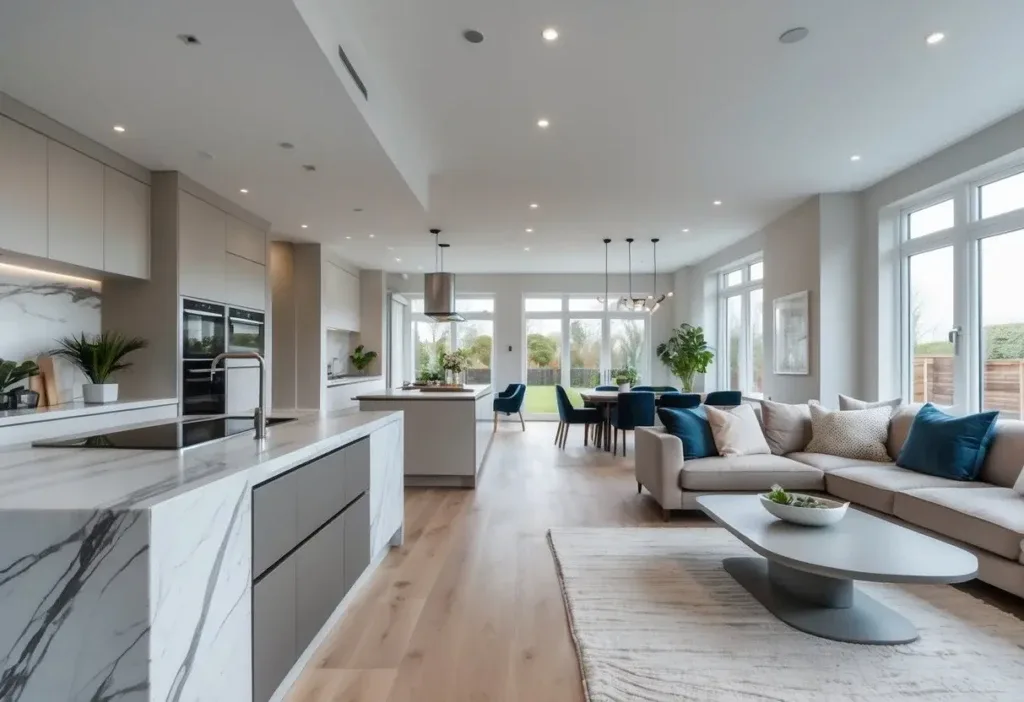
I use furniture and level changes to define zones without walls. A sofas-backroom divider, a kitchen island with overhang for casual dining, or a low bookcase can separate the living area from the cooking zone while preserving sightlines. I also assign fixed functions to specific surfaces: a dedicated landing for deliveries and a breakfast bar for informal meals.
I incorporate storage and acoustic solutions into zoning. Full-height pantry units and built-in cabinets reduce clutter; soft furnishings, rugs and acoustic panels help control noise from appliances and conversations so both kitchen tasks and relaxation coexist.

- 【Comfortable & Relaxed】With its padded high density seat and sturdy wood frame, these bar stools will provide you with a…
- 【360°Swivel Bar Stool】The bar stool adopts a unique 360-degree rotating circular seat design. You can move freely or int…
- 【Water & Stain Resistant】With high-quality Faux leather, water will not penetrate the sponge, will only stay on the surf…
Design Tips and Practical Solutions
I focus on reducing noise transfer and adding purposeful storage so the open area works for cooking, relaxing, and entertaining. Practical choices—materials, furniture placement, and fitted storage—make the space feel unified and functional.
Acoustic Comfort Strategies
I start by treating key surfaces to reduce reverberation and loud cooking noise. Fit a mix of soft finishes—wool rugs, upholstered seating, and heavy curtains—to absorb mid and high frequencies near the seating area.
Ceilings and walls benefit from discreet acoustic panels or textured plaster; I often specify panels with Class A or B absorption for kitchens that open to living spaces.
I also separate noisy work zones from quiet zones with partial-height partitions or a full-height cabinetry run. A glass screen behind the hob or a low bookcase near the dining zone blocks sound without killing sightlines.
For appliances, I choose low-decibel models (look for <45 dB for dishwashers) and install anti-vibration mounts for dishwashers and tumble dryers to cut structure-borne noise.
Integrating Storage Solutions
I prioritise storage that supports daily routines while keeping sightlines clean. I place tall pantry cupboards and appliance garages along one wall to hide clutter and create a continuous visual run.
Base units with deep drawers allow pots and pans to be stored at hand height, reducing the need to move between zones when cooking.
I use multifunctional furniture to add concealed storage: a kitchen island with drawers on both sides or a bench with lift-up seating in the dining nook.
Open shelving works for display but I limit it to durable, easy-to-clean items; closed units handle food, cleaning products, and kid-related clutter.
Finally, I plan dedicated storage for recycling and food waste next to the prep area, using pull-out bins sized to local council guidelines to keep bins out of sight and workflow efficient.