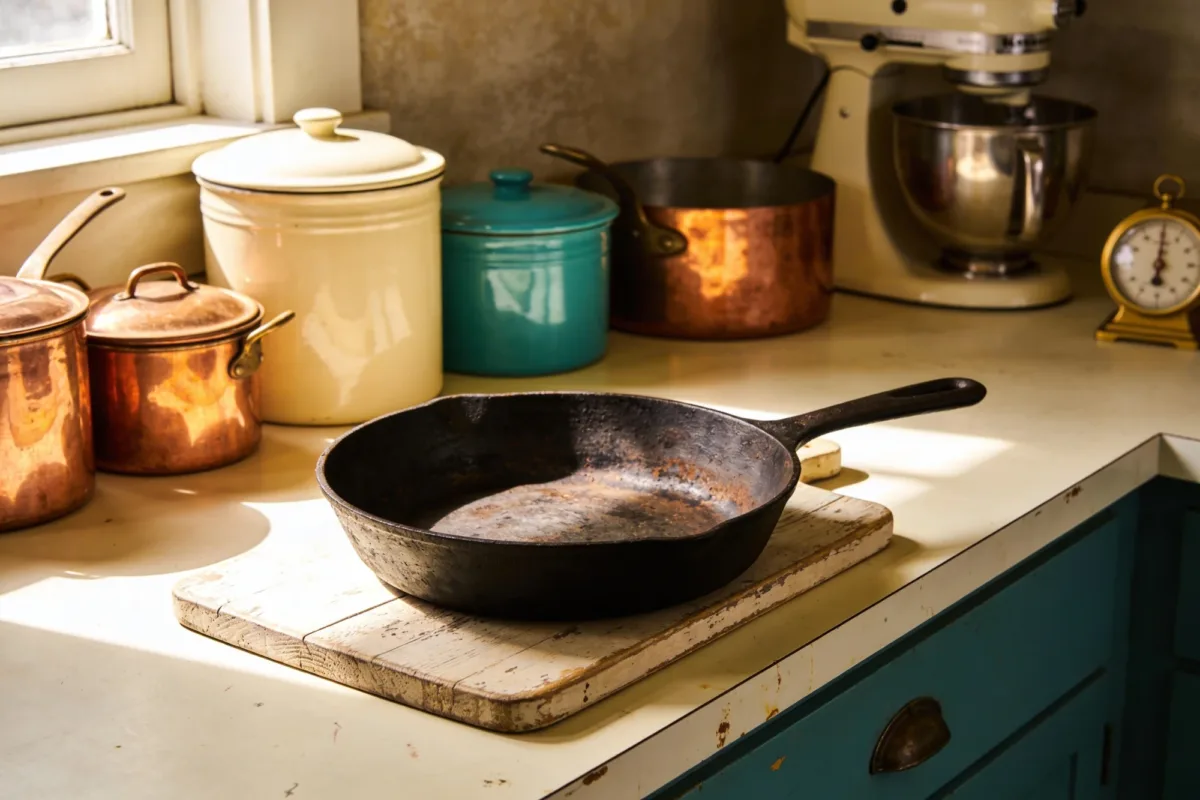
Vintage Kitchen: Charm That Sparks Conversation
A vintage kitchen is easy to get wrong in one specific way: people buy old-looking things and scatter them around, and the room ends up feeling like a thrift store display rather than a kitchen anyone actually cooks in. The kitchens that pull it off use a handful of real, working pieces — a stand mixer, a cast-iron skillet, a set of enamelware — and let those objects do the talking instead of piling on decoration. If your kitchen is small, this restraint actually helps; our vintage kitchen design guide for real kitchens covers how to scale this look down without losing the charm.
Below is what actually defines the look, what’s worth hunting for, and where people usually go wrong trying to build it.
Quick Takeaways
- Anything with a distinct old-school design or manufacturing style counts as “vintage” — it doesn’t need to be a true antique to fit the look.
- Mixing eras is normal, not a mistake — a 1950s stand mixer next to an LED under-cabinet light works fine.
- Copper develops patina no matter what you do; either embrace it or commit to regular polishing, but don’t expect to stop it entirely.
- A damaged enamel pot is usually still safe to cook in as long as it’s structurally sound — just skip acidic foods, which wear down chipped glaze faster.
- Set a budget and pick a few signature pieces before you start thrifting, or the collection sprawls into clutter fast.
Why Vintage Kitchen Pieces Actually Matter
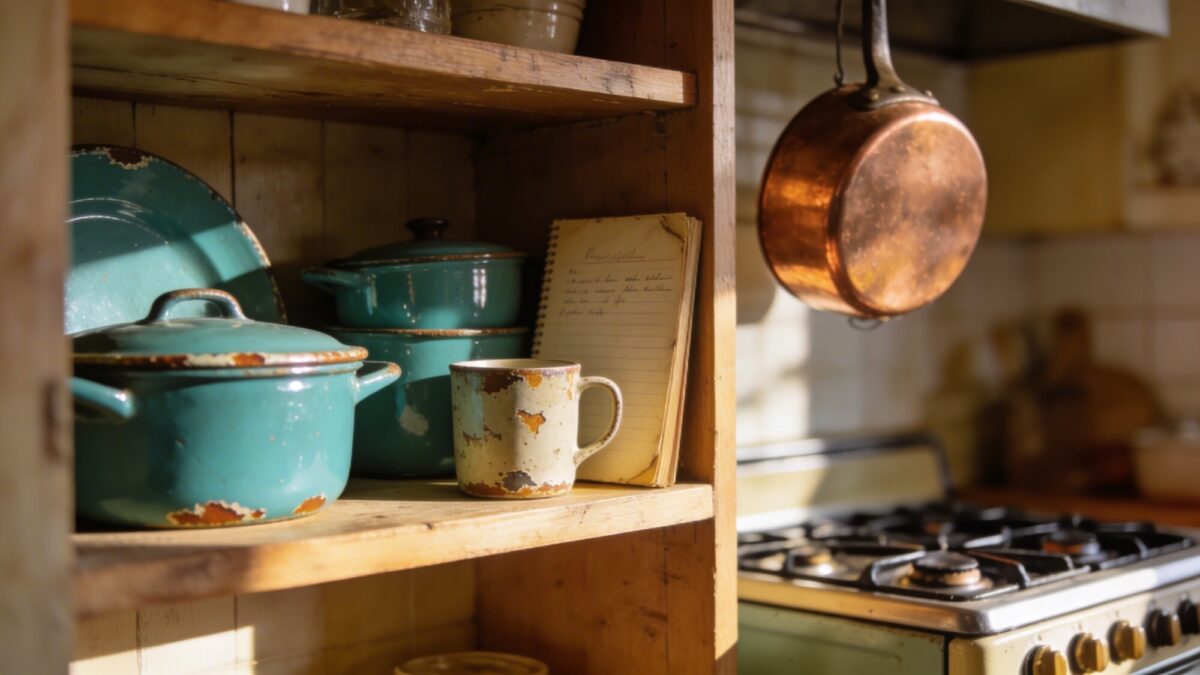
The appeal isn’t nostalgia for its own sake — it’s that older kitchenware was often built with materials and finishes that don’t exist in most new stock. A copper pot develops a patina that a modern nonstick pan never will. Enamelware chips and shows its age in a way that reads as lived-in rather than worn out. That’s the difference between a kitchen that looks staged and one that looks collected over time.
Key Elements That Define a Vintage Kitchen
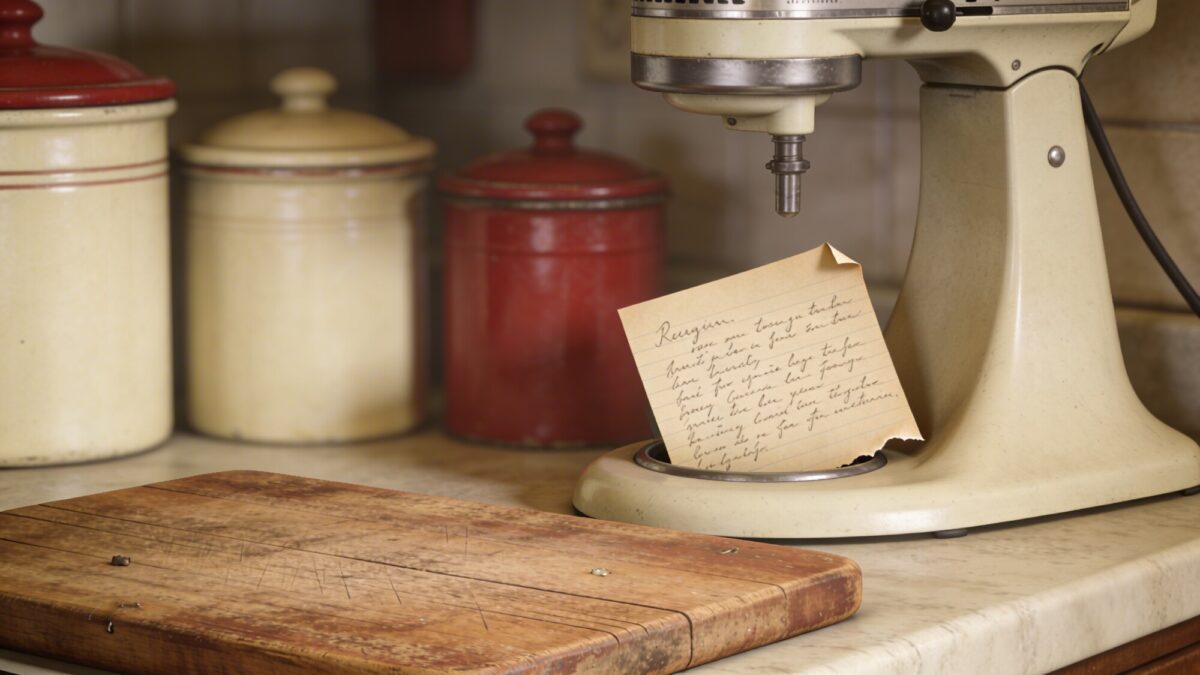
A working stand mixer from the 1950s or ’60s is often the anchor piece — it’s functional, it’s a statement, and it’s usually the easiest single item to find secondhand in decent shape. Enamelware canisters, a patinaed wooden cutting board, and a handwritten recipe card tucked somewhere visible round out the look without adding clutter.
What to Hunt For, Right Now
- A functioning stand mixer — test the motor before buying if you can, since repair parts for older models aren’t always easy to source
- Enamelware in a single color family (cream, red, or teal) rather than a mismatched rainbow
- Cast iron with no rust pitting — light surface rust cleans up, deep pitting usually means the pan is done
- Copper cookware with the tin lining still intact, since re-tinning is a real cost if it’s worn through
💡 Pro Tip: Check the underside of any stamped enamelware or cast iron for a maker’s mark before buying — it takes ten seconds and tells you whether you’re looking at a genuine vintage piece or a modern reproduction styled to look old, which happens more often than people expect at flea markets.
Mixing Modern Life with Vintage Flair
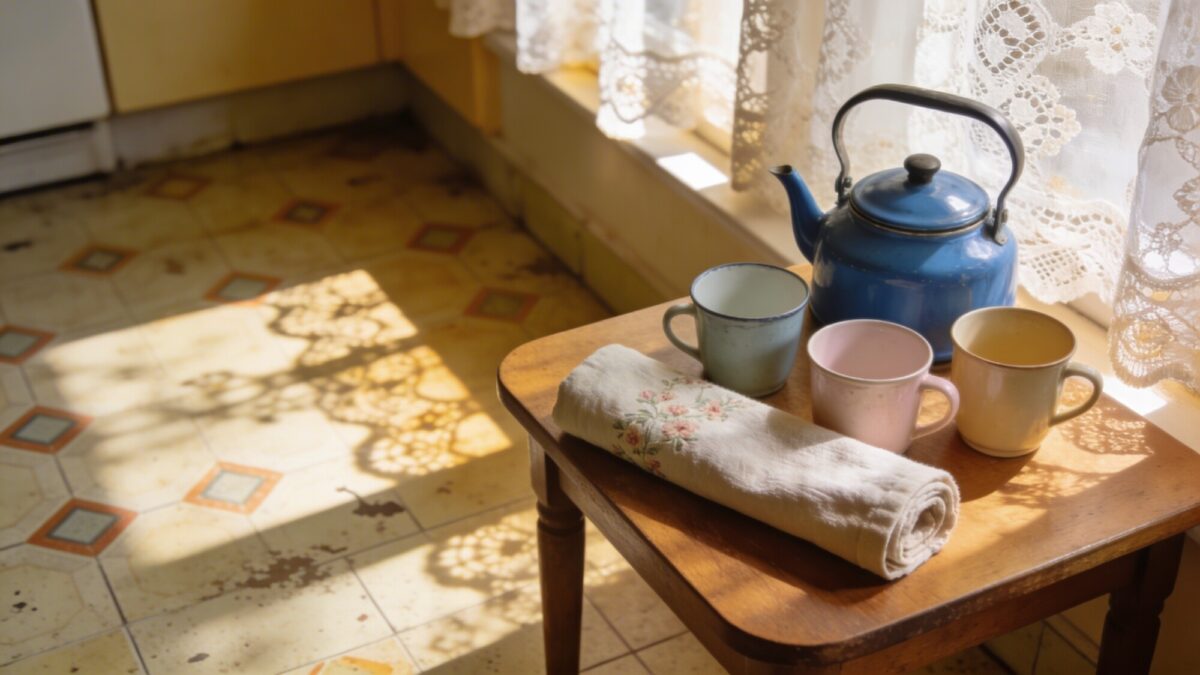
You don’t need to run your whole kitchen on 60-year-old appliances. Use modern equipment for anything that needs to work reliably every day — the oven, the refrigerator, probably your everyday mixer if the vintage one is more display than daily driver — and reserve the vintage pieces for the things you’ll actually enjoy using: a breakfast nook with mismatched enamel cups, a blue enamel teapot, a rolled linen towel by the sink.
Lighting That Sets the Mood
Warm, low-color-temperature bulbs (around 2700K) do more for a vintage kitchen’s feel than any single decor object. Cool white LED lighting flattens patina and makes copper and enamel look dull instead of warm — swap the bulbs before you buy another piece of cookware if the room still feels off.
Practical Tips for Collecting Without Clutter
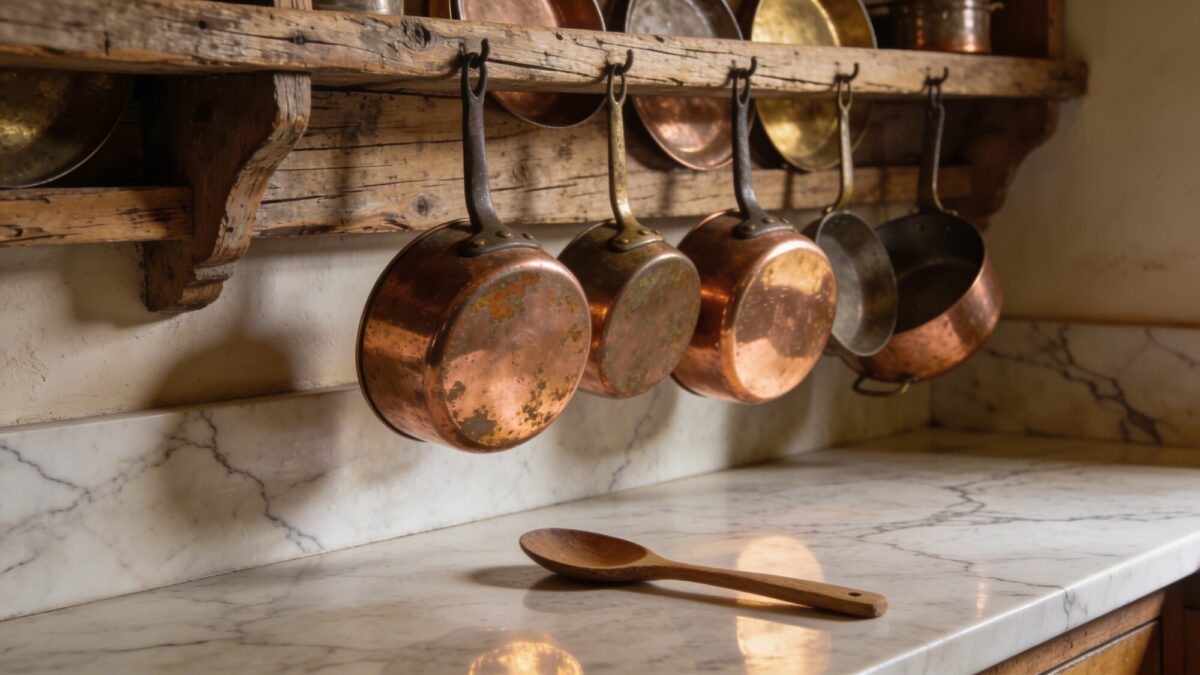
Set a budget and pick three or four signature pieces before you start hunting — a mixer, a pot rack, a set of canisters. Thrift stores, flea markets, and estate sales are the usual sources, and patience genuinely beats impulse buying here: the pieces that fit best tend to turn up when you’re not actively looking for them, and buying the first thing you see at a flea market usually means paying more than you would a few weeks later.
For more ideas on how open shelving fits into this style without becoming a dust magnet, see our kitchen open shelf styling guide.
Maintenance That Keeps It Living
Copper cleans up with a copper polish or a simple lemon-and-salt mix, then a rinse and dry — but don’t expect to stop the patina from coming back. If you want the bright, polished look permanently, you’re signing up for regular upkeep, not a one-time clean. A damaged enamel pot can usually stay in rotation if it’s structurally sound; just avoid acidic foods like tomato sauce on chipped glaze, since the acid works into the exposed metal over time.
💡 Pro Tip: Don’t put vintage cast iron or enamelware in the dishwasher, even once. A single cycle can strip a cast-iron seasoning layer or crack old enamel glaze that’s survived decades of hand-washing.
DIY Touches to Personalize Your Vintage Kitchen
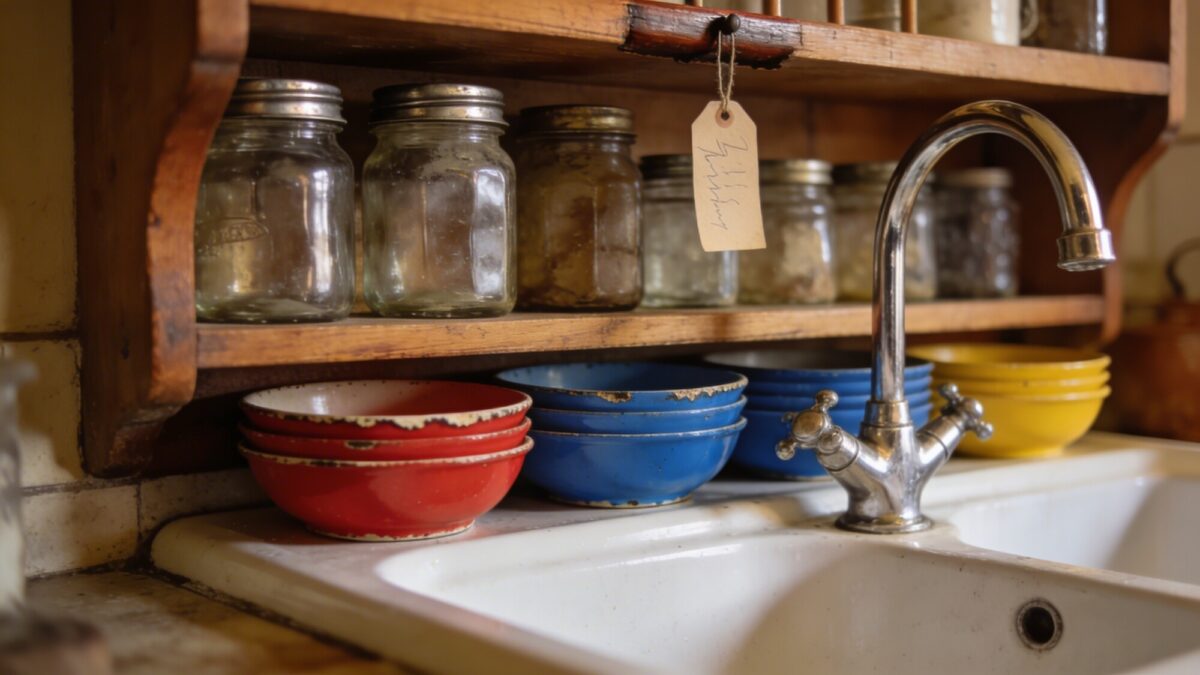
An old porcelain sink basin paired with a chrome faucet and a row of colorful enamelware bowls underneath a shelf of glass jars is a project most people can pull off in a weekend without touching plumbing. A handwritten tag on a jar or a repurposed enamel pot turned into a planter adds personality without needing a full renovation.
Small Projects That Pay Off
- Reseal a chipped enamel pot’s exposed spots with food-safe enamel touch-up paint if it’s still structurally sound
- Turn a dented, unusable pot into a planter instead of throwing it out
- Hang a copper pot rack instead of storing pots in a cabinet — it saves space and puts the patina on display
- Frame a handwritten family recipe card and hang it near the stove
If you’re leaning further into the reclaimed and repurposed side of this style, our rustic country kitchen ideas cover a lot of the same DIY territory with a slightly different aesthetic.
Frequently Asked Questions
What counts as vintage if it’s under 50 years old?
If it has a distinct old-school design, material, or manufacturing style, it fits the look even if it isn’t technically an antique. The goal is a kitchen that feels collected over time, not a strict museum-grade timeline.
How do I start collecting without breaking the bank?
Set a budget, pick a few signature pieces, and check thrift stores, flea markets, and online resale communities regularly rather than all at once. Patience beats impulse buying — the best finds tend to show up when you’re not actively hunting.
Is it okay to mix different eras?
Yes. A 1950s stand mixer sitting next to a modern LED light fixture and a stainless steel cooktop is normal in a vintage kitchen — the mix is part of the look, not a flaw in it.
How do I care for copper without turning it into a chore?
Polish lightly with a copper cleaner or a lemon-and-salt mix, then rinse and dry. If you don’t want to keep up with regular polishing, let it patina naturally rather than fighting it.
What’s the easiest way to restore a battered enamel pot?
Clean it, remove any loose glaze with a soft brush, and reseal chipped spots if needed. If it’s still structurally sound, it’s fine to keep cooking with — just skip acidic foods on damaged areas.
Can I keep modern gadgets in a vintage kitchen?
Yes — use modern appliances for daily heavy lifting like the oven or main mixer, and keep the vintage pieces for ambience and the rituals you actually enjoy, like a stovetop kettle or a hand-crank tool.
Our Verdict
The vintage kitchens that hold up long-term are built around three or four real, working pieces, not a shelf full of decorative old-looking objects. Start with one anchor — a mixer, a pot rack, a set of enamelware in one color — and build outward slowly instead of furnishing the whole room at once. If you’re ready to think about how this fits into your kitchen’s actual layout and storage, our floating kitchen shelves guide is a solid next stop.