8 Open Shelf Styling: Express Chic in Minutes
|

8 Open Shelf Styling: Express Chic in Minutes

Listen to this article
0:00 / 0:00

Open shelves are unforgiving. A closed cabinet hides your bad decisions; an open shelf broadcasts them. If you’ve ever stood in front of a shelving unit and felt like something was “off” without being able to say what, it’s usually one of a handful of fixable problems — mismatched heights, no color logic, or just too much stuff crammed into too little space. This guide walks through the same open shelf styling approach I’d use on a friend’s living room, plus a few things I’d check first over at our shelf styling quick wins guide if you’re starting from a completely bare wall.

None of this requires new furniture. Most of it is rearranging what you already own, with a bit of intention about height, color, and negative space. Set aside 30–45 minutes and you can redo an entire shelving unit in one sitting.

💡 Pro Tip: Before you touch a single object, pull everything off the shelf and lay it out on the floor or a table. You’ll style faster and better when you can see every piece at once instead of shuffling things around on the shelf itself.

Quick-Reference: What Actually Matters in Open Shelf Styling

  • Height variation — mix tall and short objects; never line everything up at one level.
  • Color control — 2–3 repeated colors beats a rainbow of mismatched spines and objects.
  • Empty space — leave roughly a quarter of each shelf visibly empty.
  • Texture mix — wood, ceramic, metal, and fabric together read as “curated,” not random.
  • Function first — style around what you actually use, not just what photographs well.
See also  21 Formal Living Room Ideas That Feel Inviting (Not Stiff)

1. Layer Heights for Instant Depth

The single biggest mistake I see on open shelves is everything sitting at the same height — books standing upright in a neat row, a candle next to them, a frame propped up the same distance from the edge. It reads flat, almost like a store display waiting to be shopped rather than a room someone lives in.

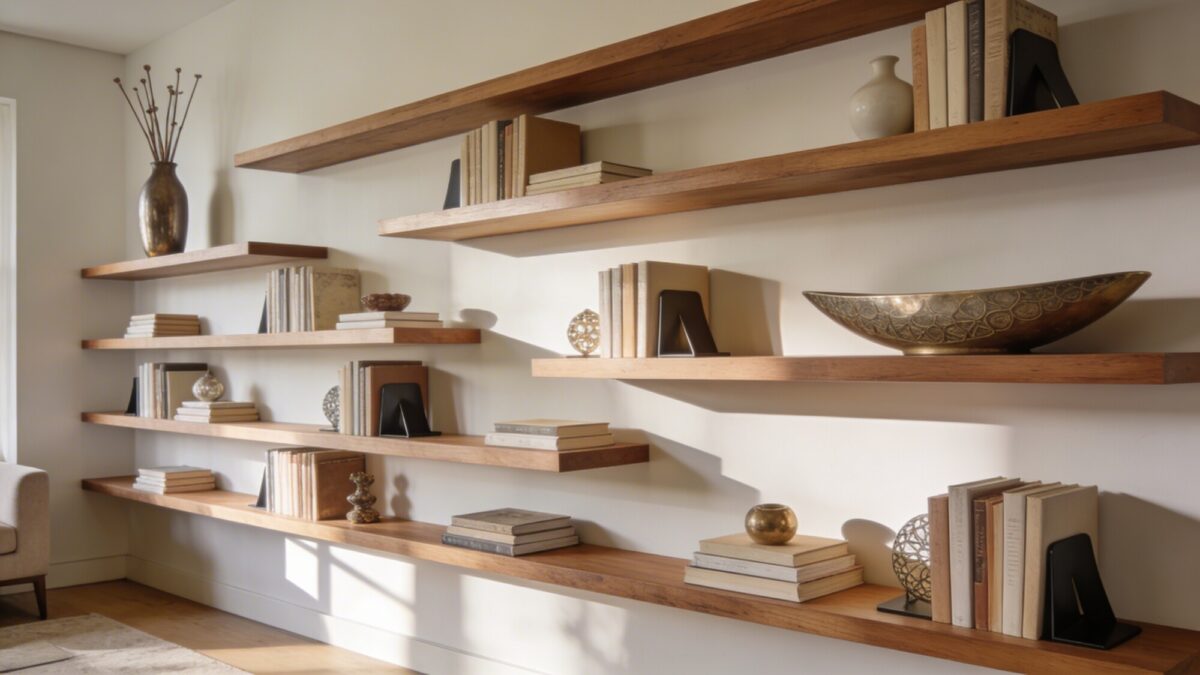
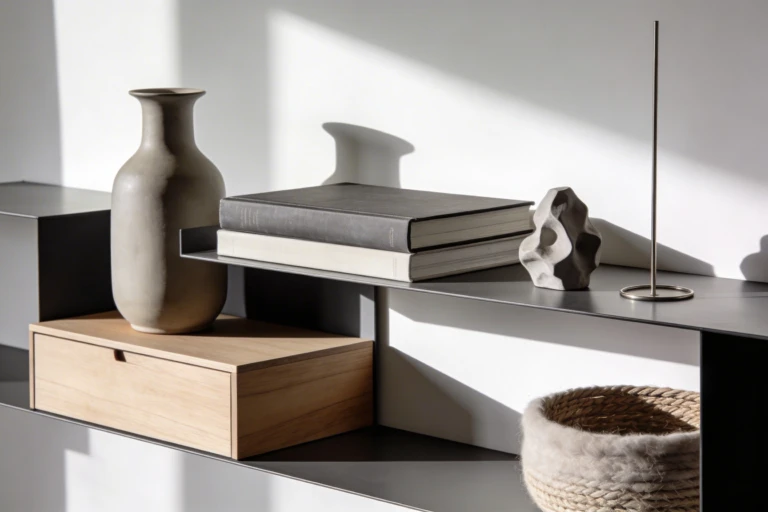
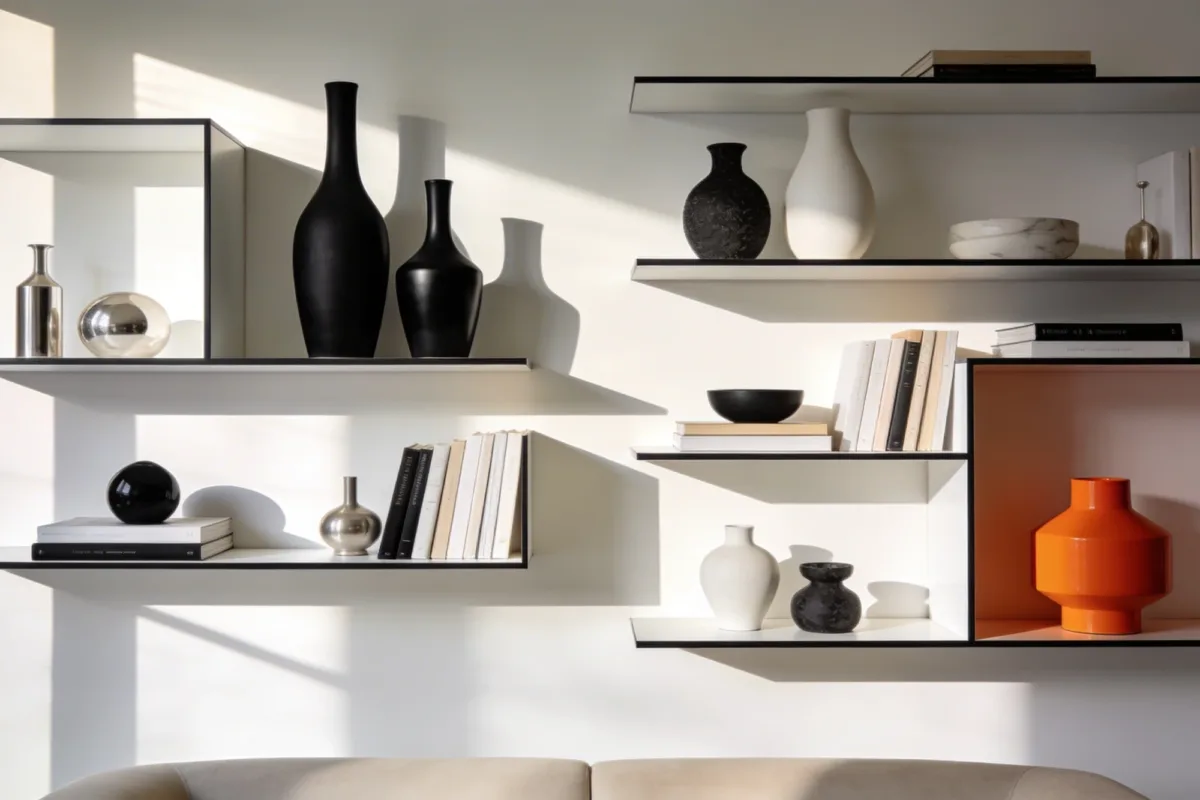
Instead, treat each shelf like a small skyline. Put something tall — a vase with a few stems, a taller stack of books standing on end — at one side. Balance it with something low and wide on the other, like a shallow bowl or a squat ceramic piece. The unevenness is the point; it’s what makes your eye move across the shelf instead of skating past it.

  • Anchor one end with height (a vase, a tall bottle, an upright stack of books).
  • Anchor the other end with width (a low bowl, a wide tray, a horizontal stack).
  • Use bookends to angle a few items instead of lining them all up flush.

2. Build a Color Rhythm Instead of a Color Free-for-All

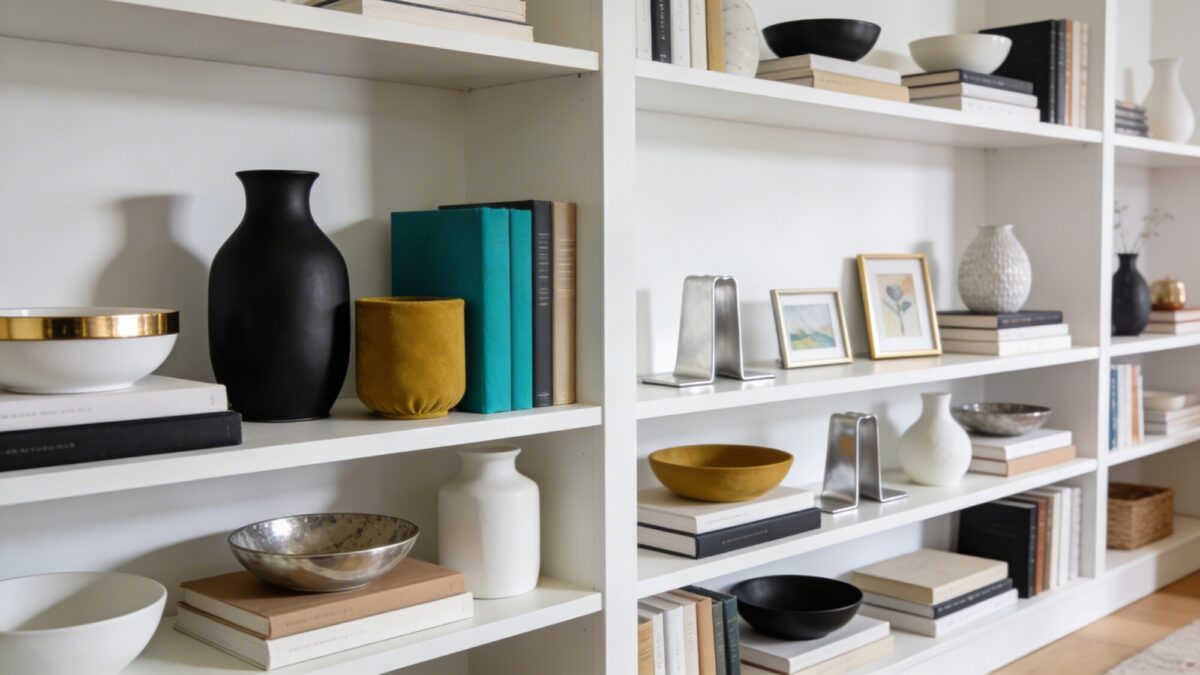
You don’t need new decor to fix a shelf that looks chaotic — you probably need to sort what you already have by color. Pick two or three colors you already own a lot of (say, terracotta, cream, and black) and pull every piece in those colors to the front of your styling pile. Everything else goes into a box for now, or moves to a different shelf entirely.

This is one of the fastest wins in book shelf styling specifically, since book spines are usually the biggest source of visual noise on any shelving unit. Turning a few spines inward so only the pages show, or stacking books horizontally by color, does more to calm a shelf down than any new accessory will.

💡 Pro Tip: If your books span every color imaginable, don’t fight it — group them by color into 2–3 clusters instead of trying to force one uniform palette. It looks intentional; a scattered rainbow doesn’t.

3. Leave Negative Space on Purpose

Every shelf has a saturation point, and most people blow past it without noticing. A good rule of thumb: if you can’t see any bare shelf surface between objects, you’ve got too much on it. Aim for roughly a quarter of each shelf staying visibly empty — that gap is what lets your eye rest and lets the pieces you did choose actually register.

See also  25 Small Room Bedroom Ideas That Prove Less Space Means More Creativity

Odd numbers help here too. Three objects grouped together reads as a deliberate vignette; four objects in a row reads like a shelf that hasn’t been edited yet. This is the same principle behind good minimalist shelf styling — restraint isn’t the absence of decoration, it’s a decision about what earns a spot.

  • Leave visible empty shelf space rather than filling every inch.
  • Group objects in threes, not twos or fours.
  • Center your best piece and let space frame it, rather than crowding it with neighbors.

4. Blend Everyday Items With Statement Pieces

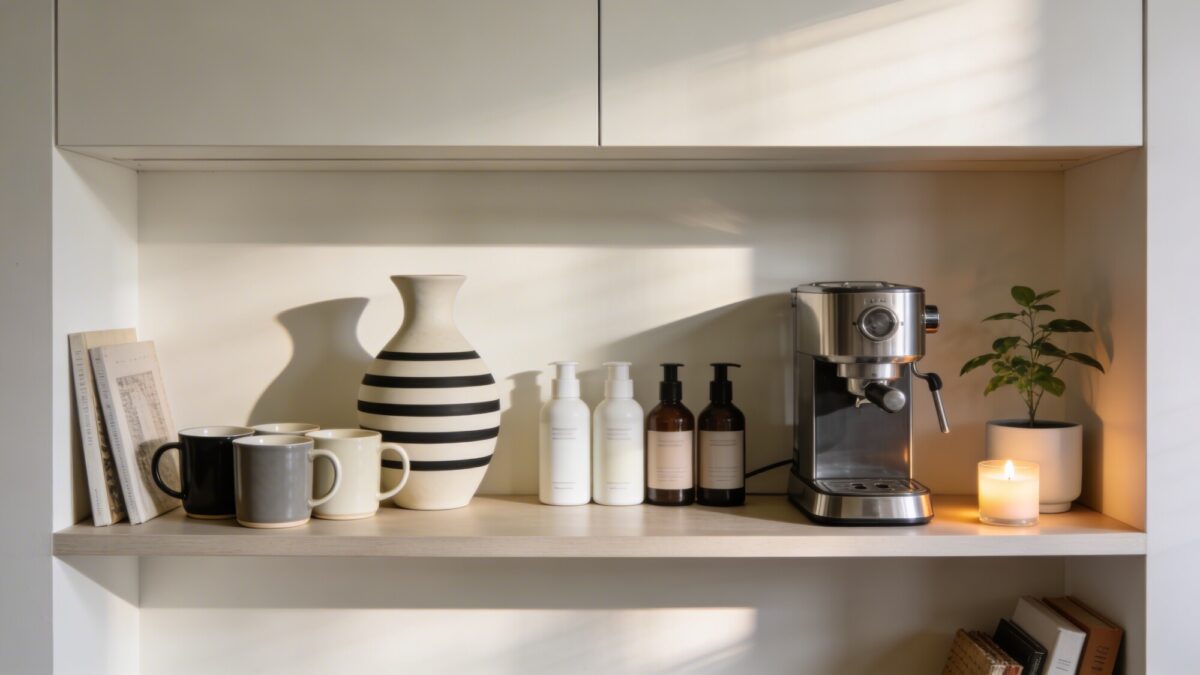
A shelf that’s 100% “pretty objects” and 0% functional stuff tends to feel staged the moment someone actually lives in the room. The fix is mixing in things you use — a small mug collection, a coffee grinder, a stack of everyday plates — right alongside your one or two statement pieces, like a sculptural vase or a piece of art.

Put the statement pieces at the ends or corners of the shelf, where they get visual priority, and let the functional items sit toward the center where hands naturally reach. This works particularly well if you’re styling open kitchen shelves, where everything needs to earn its spot by being both useful and decent-looking.

5. Layer Textures So Nothing Looks Flat

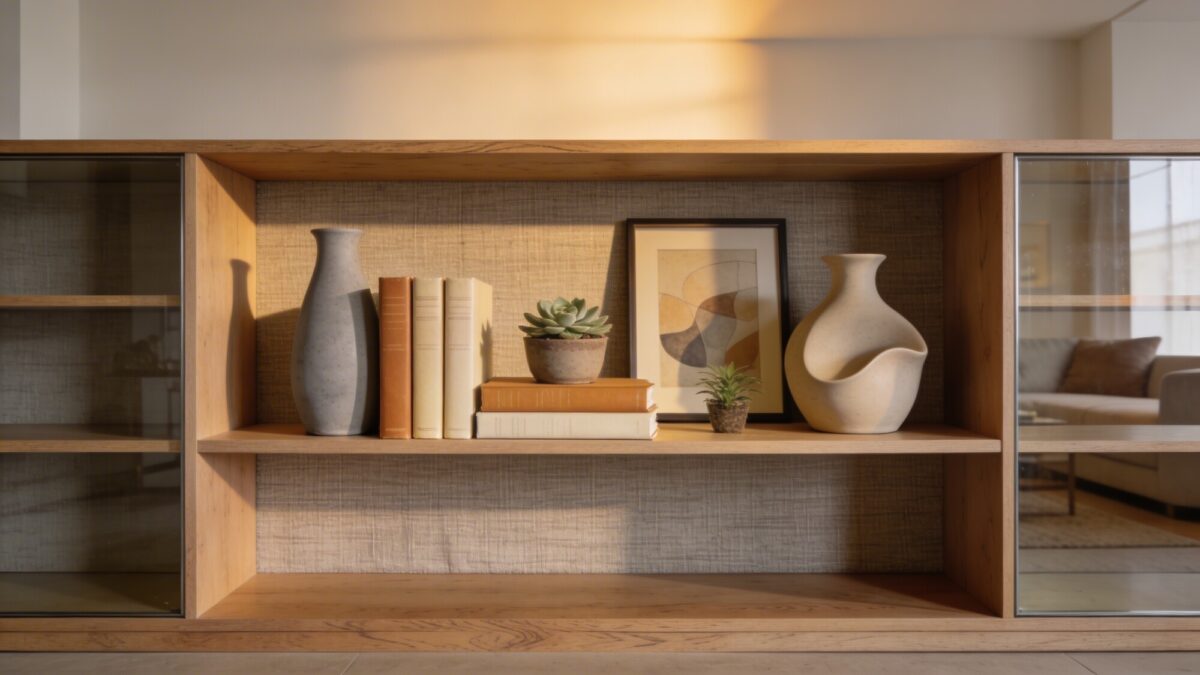
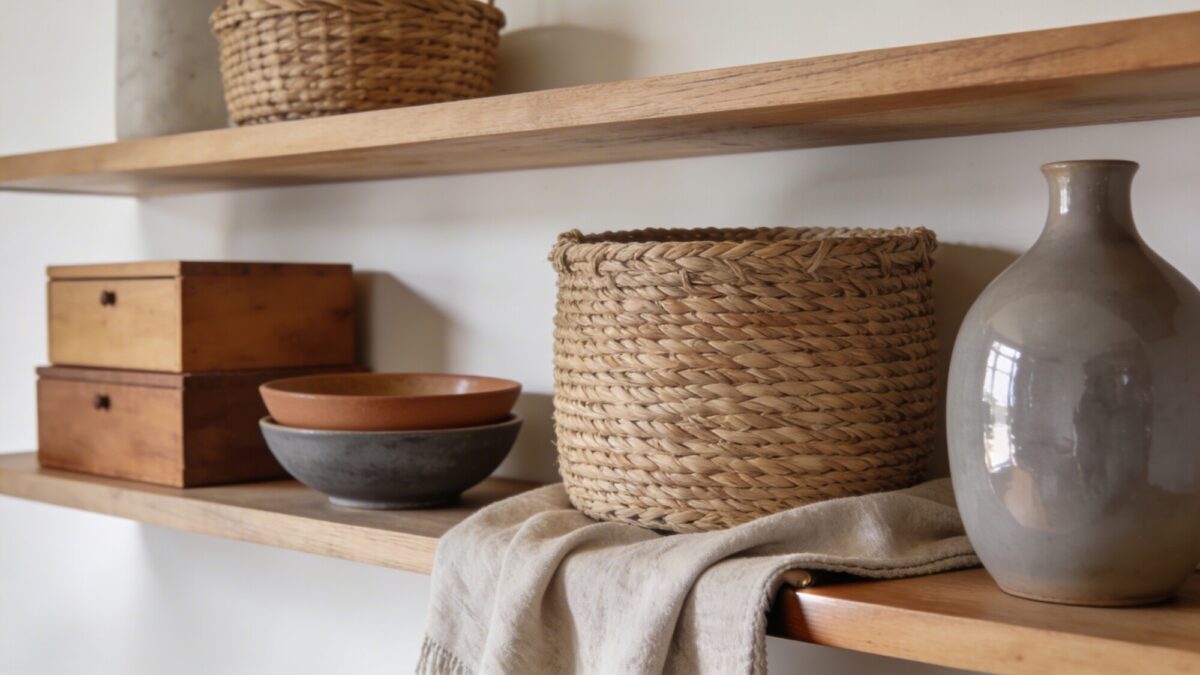
Color rhythm gets a shelf calm; texture is what stops it from looking one-note once it’s calm. Pair a matte ceramic bowl next to a glossy vase. Set a woven basket beside smooth painted wood. A folded linen runner draped over the edge of a shelf does more work than another trinket would, because fabric behaves differently under light than hard surfaces do.

See also  DIY Apartment Decor for Renters That Adds Personality Without Damaging Walls or Furniture

The mistake to avoid: don’t try to hit every texture on every shelf. One or two textured “surprise” pieces per shelf, mixed with smoother, calmer surfaces, reads as intentional. Five different textures crammed together just reads busy again — you’ll have undone the negative-space work from step three.

💡 Pro Tip: Woven and rattan pieces are the easiest texture win because they’re forgiving — they look intentional whether you place them centered or slightly off, unlike glossy ceramics that show every asymmetry.

6. Use a Gallery-Style Grid for Full Wall Shelf Setups

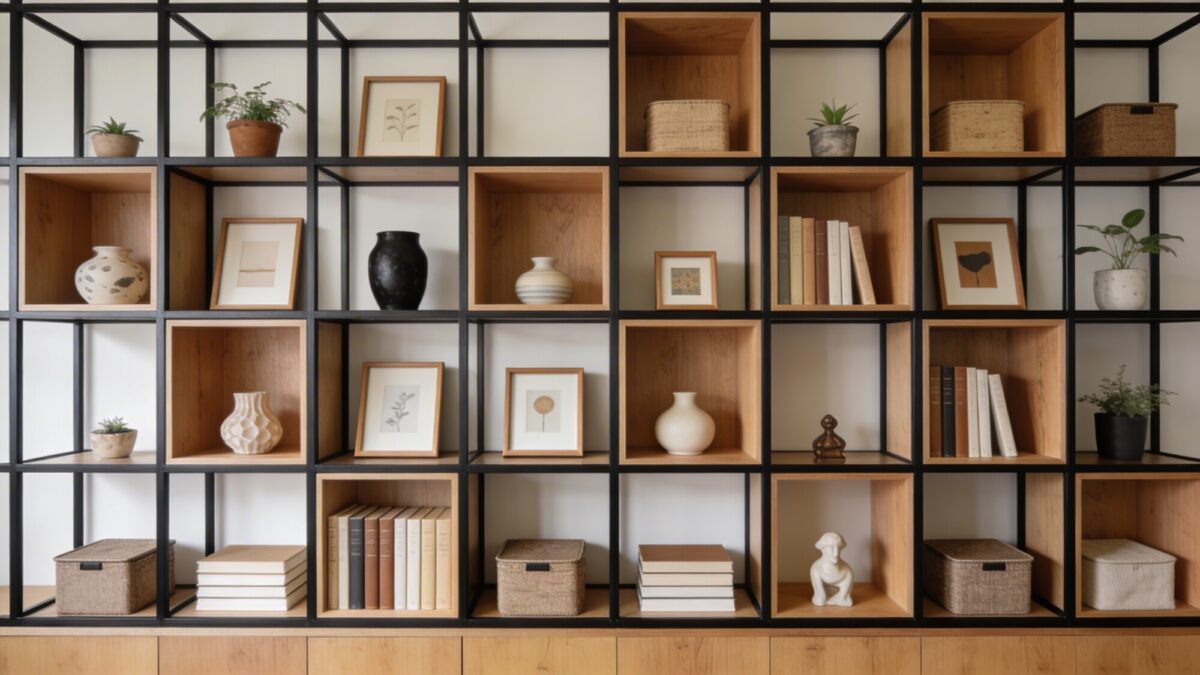
If you’re working with a full wall shelf or a large living room wall with shelves — think built-ins, a wall showcase, or a multi-cube unit — treat the whole thing like a gallery wall rather than styling each cube independently. Pick one unifying element (matching frame colors, the same type of container, a consistent wood tone) and repeat it across the grid so your eye reads the wall as one composition, not eight unrelated little shelves.

Group 3–5 similar items in some cubes, then let one or two cubes hold a single standout piece — a small sculpture, a framed print, an oversized object. That contrast between “grouped” cubes and “single statement” cubes is what keeps a grid from feeling monotonous. Plan to rotate a few pieces every month or two; it’s a five-minute refresh and it keeps the wall from going stale.

7. Let Plants Do the Softening Work

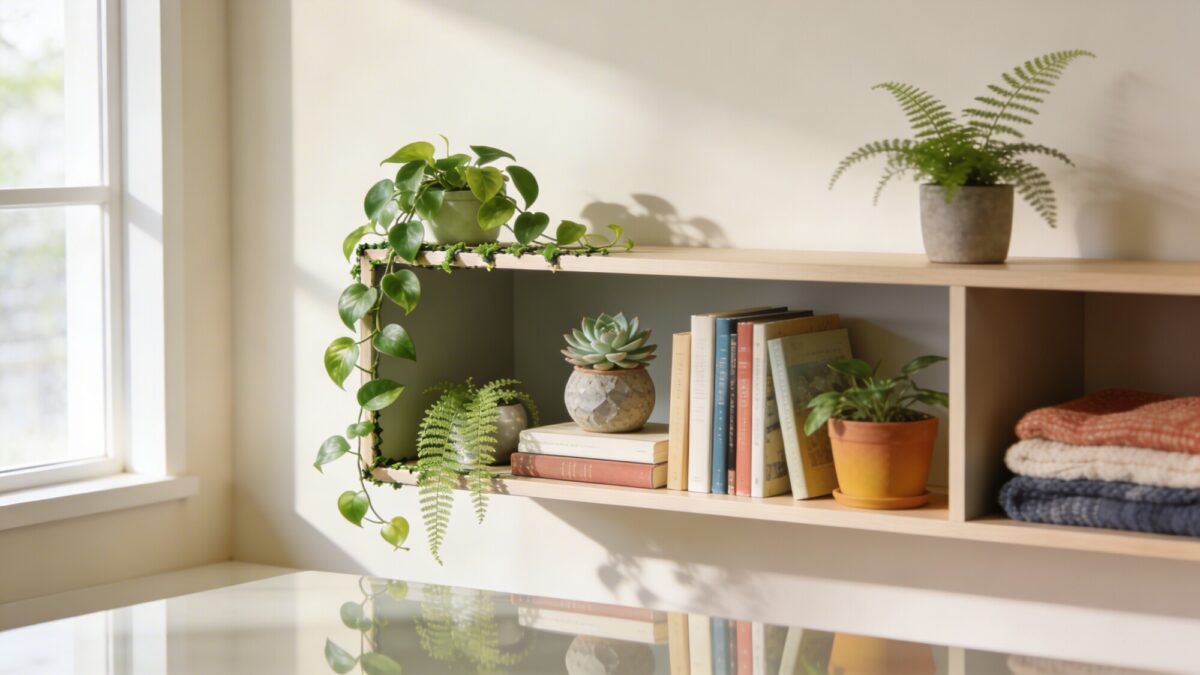
Hard edges — wood corners, glass, metal frames — are everywhere on a shelving unit, and plants are the fastest way to break that up without adding more “stuff.” A trailing pothos or philodendron draped over an edge does more to soften a shelf than any decorative object at the same price point.

Mix plant heights the same way you mixed object heights in step one: a trailing vine at one level, a compact succulent for structure lower down, maybe a small air plant tucked into a gap that would otherwise look empty. Odd numbers again — three plants across a shelving unit feels natural; two feels sparse, four starts competing with everything else on the shelf.

If natural light is limited, this is also where a lot of people quietly give up and go for a full floating shelf styling refresh instead — swapping struggling plants for a mix of dried stems and one or two low-light-tolerant varieties like pothos or ZZ plants, which handle indirect light better than most succulents do.

8. Build in Storage So the Shelf Stays Tidy

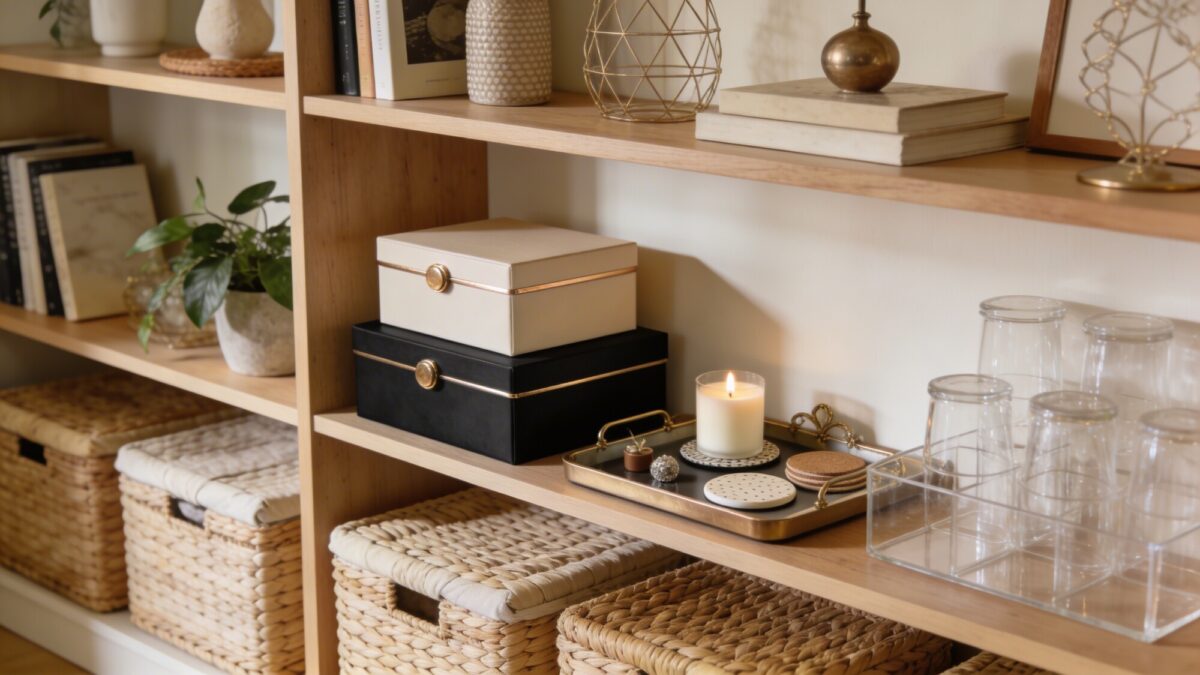
Open shelving has one real weakness: there’s nowhere to hide the stuff that doesn’t photograph well — chargers, mail, spare batteries. A couple of woven baskets or lidded boxes on the lower shelves solve that without breaking the aesthetic, as long as you keep the baskets in the same color family as everything else.

Trays are underrated here too. Corralling three or four small items — coasters, matches, a candle — onto a single tray turns “loose clutter” into “one styled object” in the time it takes to find a tray you already own.

💡 Pro Tip: Reserve your lowest shelf or two for storage-first pieces (baskets, boxes) and save the eye-level shelf for the styled, photograph-worthy layer. Most people do the opposite and wonder why the shelf never looks finished at a glance.

Open Shelf Styling Approaches Compared

ApproachBest ForEffort LevelWatch Out For
Color-rhythm stylingLiving rooms, full wall shelf setups with lots of booksMedium (requires sorting existing items)Can look flat if you don’t vary height too
Gallery-grid stylingBuilt-ins, wall niches, multi-cube full wall unitsHigher (needs a unifying element)Monotonous without at least one standout cube
Function-first stylingKitchen open shelving, entryway shelvesLow (mostly rearranging what you use daily)Can drift toward cluttered without storage baskets
Minimalist/negative-space stylingSmall corner shelves, bedroom nichesLow (subtraction, not addition)Can look unfinished if taken too far — leave 1–2 anchor pieces

Things to Check Before You Start Styling

  • Do your shelves get direct sun at any point in the day? That affects whether plants or paper-based items (books, art prints) belong there long-term.
  • Is the shelving unit load-bearing rated for what you want on it? Heavier ceramics and stacks of hardcovers add up fast.
  • Do you actually use the space daily, or is it purely decorative? That answer decides whether step 4 (blending function with statement pieces) matters to you.
  • How much time do you realistically want to spend maintaining it? A gallery grid needs more upkeep than a function-first shelf.

Frequently Asked Questions

How many items should go on one shelf?
There’s no fixed count — it depends on shelf width — but as a working rule, group items in clusters of 3 or 5 rather than spreading single objects evenly across the whole length. Leave visible gaps between clusters.

Should I turn book spines inward for a cleaner look?
On one or two shelves, yes — it’s a fast way to calm a busy color palette. Don’t do it across an entire large collection, though; it makes the shelf harder to actually use as a bookshelf.

What’s the fastest fix if my shelves already look cluttered?
Remove a third of what’s currently on them before you rearrange anything. Editing down almost always solves more than restyling does.

Do open shelves work in a kitchen, or do they just get greasy?
They work, but keep them away from the direct cooking zone — near the stove, grease and dust build up fast on open surfaces. Shelves near a sink or prep counter, away from splatter, hold up much better.

How often should I restyle an open shelf?
A light refresh every 4–6 weeks (swapping a few pieces, rotating plants) keeps it feeling current without a full teardown. Save the full reorganization for seasonal changes.

Our Take

If you only do one thing from this list, do step 3 — leave real negative space. Almost every “cluttered” open shelf I’ve seen fixed itself by 70% once a third of the objects came off and stayed off. Height variation and color rhythm matter, but they only show up clearly once there’s room for your eye to actually see them. Start there, add texture and plants once the bones are right, and save the gallery-grid treatment for the wall that can support that level of upkeep. For more room-specific layouts once your shelves are styled, our living room shelf decor guide covers pairing the shelving itself with the rest of the room.

Share this post

Similar Posts

Leave a Reply

Your email address will not be published. Required fields are marked *