You can make a small kitchen feel brighter, more useful, and more stylish without spending a lot. This article shows easy, affordable changes that free up space, improve lighting, and organize what you already own so your kitchen works better for daily life.You’ll get practical ideas that save money and make your small kitchen feel larger and more functional. Think of this as a short plan for upgrades you can start right away—shelves that use vertical space, multi-use furniture, cheap peel-and-stick updates, better lighting, and smart organizers that reclaim counters and drawers. Each idea focuses on real, low-cost steps you can take to improve layout and storage without a major remodel. Table of Contents1) Install open shelves to maximize vertical storage without expensive cabinetry.2) Use multi-functional furniture like an island with storage underneath.3) Apply peel-and-stick backsplash tiles for an affordable style update4) Opt for bright, light-reflecting paint colors to make the space feel larger.5) Incorporate under-cabinet lighting to enhance workspace visibility cheaply.6) Replace bulky upper cabinets with glass-front or floating shelves.7) Use drawer organizers and pull-out shelves to boost storage efficiency.8) Add a magnetic knife strip to free up counter and drawer spaceHow Layout Impacts Small Kitchen FunctionalityCommon Space-Enhancing MistakesOptimizing Workflow ZonesPlanning Small Kitchen Upgrades on a BudgetPrioritizing High-Impact ChangesBudget-Friendly Design Resources 1) Install open shelves to maximize vertical storage without expensive cabinetry. Open shelves give you extra storage without the cost of new cabinets. You can fit shelves above counters, appliances, or even along narrow walls to free up workspace. Choose sturdy brackets and solid wood or metal shelves to hold dishes, pans, and pantry items. Keep heavy items on lower shelves and lighter items higher to stay safe and balanced. Use baskets, jars, and matching containers to keep small items neat and visible. Label containers so you find what you need fast and avoid clutter on the counter. Install a rail or hooks beneath a shelf for mugs, utensils, or a small herb rack. This adds function without taking up more wall space and keeps daily items easy to reach. [UPGRADE] 2 Pack Square Super Wide Mouth Airtight Glass Storage J… Super Wide Mouth: Mouth size: 4.3inch/10.9cm, this glass mason jar with a wide opening, It’s wide enough to put a 1 meas… With Tick Marks: The Cookie jars with fluid ounce (american unit of capacity) and millimeter(international volume unit),… Airtight Leak-proof Lid: The hinged lid and the silicone gasket are tightly matched to provide a double seal, great for … $34.99 Buy on Amazon 2) Use multi-functional furniture like an island with storage underneath. Choose an island that gives you both counter space and storage. You get a prep surface, a place to eat, and room to hide pots, pans, or small appliances. Look for islands with shelves, drawers, or cubbies built in. Open shelving works well for everyday items, while drawers keep clutter out of sight. If you rent or have a tiny kitchen, pick a rolling island. You can move it when you need floor space and tuck it against a wall when you don’t. Keep the design simple to stay on budget. Paint or swap hardware later to refresh the look without replacing the whole piece. 3) Apply peel-and-stick backsplash tiles for an affordable style update Peel-and-stick tiles let you change your kitchen look without a big budget or a contractor. You can get clean grout-like lines and many finishes, from faux subway tile to metallic or patterned designs. Measure the wall and buy a few extra sheets so you can cut around outlets and corners. Most sheets stick to smooth, clean surfaces; wipe the wall, let it dry, and use a level to keep rows straight. Cut tiles with a utility knife or scissors, and press firmly from one side to the other to avoid bubbles. If you rent, these tiles usually remove without heavy damage, making them renter-friendly and low-risk. They work best on flat areas behind counters and stoves, not on uneven or high-heat spots unless the product says it’s heat-resistant. Choose washable, water-resistant options for near sinks and stoves to keep the finish looking good over time. 4) Opt for bright, light-reflecting paint colors to make the space feel larger. Choose pale colors like soft whites, light grays, or warm neutrals to bounce light around the room. Lighter walls reflect natural and artificial light, so your kitchen will feel airier without structural changes. Paint the ceiling in the same light shade or a shade lighter than the walls to blur edges and raise the visual height. Uniform color across walls and ceiling reduces contrast and makes the room read as one continuous space. Avoid very dark or highly saturated hues on all walls, since they absorb light and make the room feel smaller. Instead, use small accents—on a single wall or accessory—to add color without shrinking the room. Pick a paint with a slight sheen, such as satin or eggshell, for kitchen walls. These finishes reflect more light and clean up easily, which helps both appearance and upkeep on a tight budget. 5) Incorporate under-cabinet lighting to enhance workspace visibility cheaply. Add under-cabinet lighting to brighten your countertops and reduce shadows while you cook or prep food. LED light strips and puck lights give steady, practical light without using much power. Choose plug-in or battery-powered options if you rent or want an easy install. Most LED strips stick on with adhesive and cut to fit, so you can place them where you need light most. Pick a neutral color temperature (around 3000–4000K) for clear, natural-looking light that helps you see ingredients and read recipes. Install lights near the front edge of the cabinet to avoid glare and to illuminate the work surface evenly. Use dimmable fixtures or add a simple inline switch to control brightness for different tasks. This small upgrade improves function and can make your kitchen feel more modern without a big cost. 6) Replace bulky upper cabinets with glass-front or floating shelves. Swapping heavy upper cabinets for glass-front units or floating shelves opens visual space and makes a small kitchen feel lighter. You keep storage but reduce the boxed-in look that makes tight kitchens seem smaller. Glass-front cabinets protect dishes and cut down on dust while still letting light pass through. They work well if you want a neater display without losing closed storage. Floating shelves cost less and install faster than full cabinets. Use sturdy materials and strong brackets to hold plates and cookware safely. Organize items by use and color to avoid cluttered shelves. Limit what you display, and store extras in lower cabinets or baskets to keep the shelves tidy and useful. 7) Use drawer organizers and pull-out shelves to boost storage efficiency. You can fit more into small drawers by adding simple organizers. Use dividers for utensils, trays for lids, and small bins for packets so items stay visible and easy to grab. Pull-out shelves make deep cabinets usable without crawling on your knees. They let you slide items out for quick access and reduce wasted space at the back. Choose affordable options like wire pull-outs or plastic drawer inserts. Many clip in without tools, so you can try different layouts until they work for you. Label bins and keep like items together to cut down on search time. When everything has a place, your kitchen feels bigger and tasks move faster. 8) Add a magnetic knife strip to free up counter and drawer space Mount a magnetic knife strip on the wall to clear bulky knife blocks and crowded drawers. You save counter space and make your most-used knives easier to reach while you work. Choose a strip that fits your knife set and the look of your kitchen. Metal or wood finishes work well, and some strips mount under cabinets if wall space is tight. Install the strip at a safe height, away from kids and traffic paths. Press each blade flat to the magnet so knives sit secure and won’t tilt or slide. A magnetic strip also helps you see and grab the right tool quickly. It keeps blades dry and visible, which can reduce nicks and help you maintain your knives. How Layout Impacts Small Kitchen Functionality A kitchen layout decides where you store, prep, and cook. It affects how much counter space you have, how easily you move between sink, stove, and fridge, and how many people can use the kitchen at once. Common Space-Enhancing Mistakes You may block work zones by squeezing in too many appliances or tall cabinets without measuring clearances. Narrow walkways under 36 inches will force single-file movement and limit access to cabinets and drawers. Placing the fridge far from the prep counter or sink creates extra walking and slowdowns during cooking. Overhead cabinets that reach the ceiling can feel heavy if they’re not balanced with open shelving or light colors. Deep base cabinets without pull-out shelves hide pots and waste usable space. Avoid islands that don’t allow at least 36 inches of clearance on all sides; they become obstacles instead of helpers. Quick fixes: swap a door for a pocket or sliding one, replace a deep cabinet with shallow pull-outs, and move frequently used items to lower, reachable zones. Optimizing Workflow Zones Set up three main zones: prep (counter + knives + bowls), cook (stove + pans + oils), and clean (sink + dishwasher + trash). Keep those zones within a 4–8 foot triangle when possible to cut steps during meal prep. For one-wall kitchens, create vertical zones left-to-right: fridge, prep, cook, clean. Use a dedicated landing space of 18–24 inches beside the stove and fridge for putting down groceries and hot pans. Install narrow appliance garages or a pull-out cabinet next to the prep zone to store frequently used tools. Consider open shelves or a magnetic strip above the prep counter for knives and utensils to free drawer space. If you share the kitchen, add a second prep surface or a drop-leaf cart that tucks away. Use task lighting under cabinets to make small counters feel larger and reduce errors while you work. Planning Small Kitchen Upgrades on a Budget Focus on changes that give you more storage, better flow, or updated surfaces without full demolition. Pick one or two targeted projects so you can afford quality materials and keep the rest DIY. Prioritizing High-Impact Changes Start by listing problems that affect daily use: lack of counter space, poor lighting, broken cabinet doors, or no pantry. Tackle the top two issues first so you see real improvement fast. Choose upgrades that change function and look. Swap old cabinet hardware, add a bright LED under-cabinet light, or install a slim rolling island. These moves cost little but make cooking and cleanup easier. Think about durability where you use the most work: counters, sink area, and floor. Spend a bit more on a durable countertop patch or a water-resistant floor tile in the most used zone. Save on visible finishes by painting cabinets or adding peel-and-stick backsplash tile. Use a simple decision rule: impact per dollar. If a $100 change gives you daily time savings or clear extra storage, it ranks higher than a $1,000 cosmetic change. Budget-Friendly Design Resources Use free tools to plan layout and materials before you buy. Try room planner apps that let you place cabinets and appliances to test clearances. Take photos and measure so you order the right sizes. Shop leftover or clearance materials: end-of-line tiles, open-box appliances, and factory-second cabinets. You can save 30–60% this way. Check local salvage yards and Facebook Marketplace for used sinks and ranges in good condition. Follow how-to videos for tasks like painting cabinets, installing new hardware, or fitting peel-and-stick flooring. For electrical or plumbing changes, get one written quote from a licensed pro to compare with DIY time and risk. Keep a short checklist when you shop: measurements, finish samples, return policy, and installation needs. That prevents costly mistakes and keeps the project on budget.
You can make a small kitchen feel brighter, more useful, and more stylish without spending a lot. This article shows easy, affordable changes that free up space, improve lighting, and organize what you already own so your kitchen works better for daily life. You’ll get practical ideas that save money and make your small kitchen feel larger and more functional.
Think of this as a short plan for upgrades you can start right away—shelves that use vertical space, multi-use furniture, cheap peel-and-stick updates, better lighting, and smart organizers that reclaim counters and drawers. Each idea focuses on real, low-cost steps you can take to improve layout and storage without a major remodel.
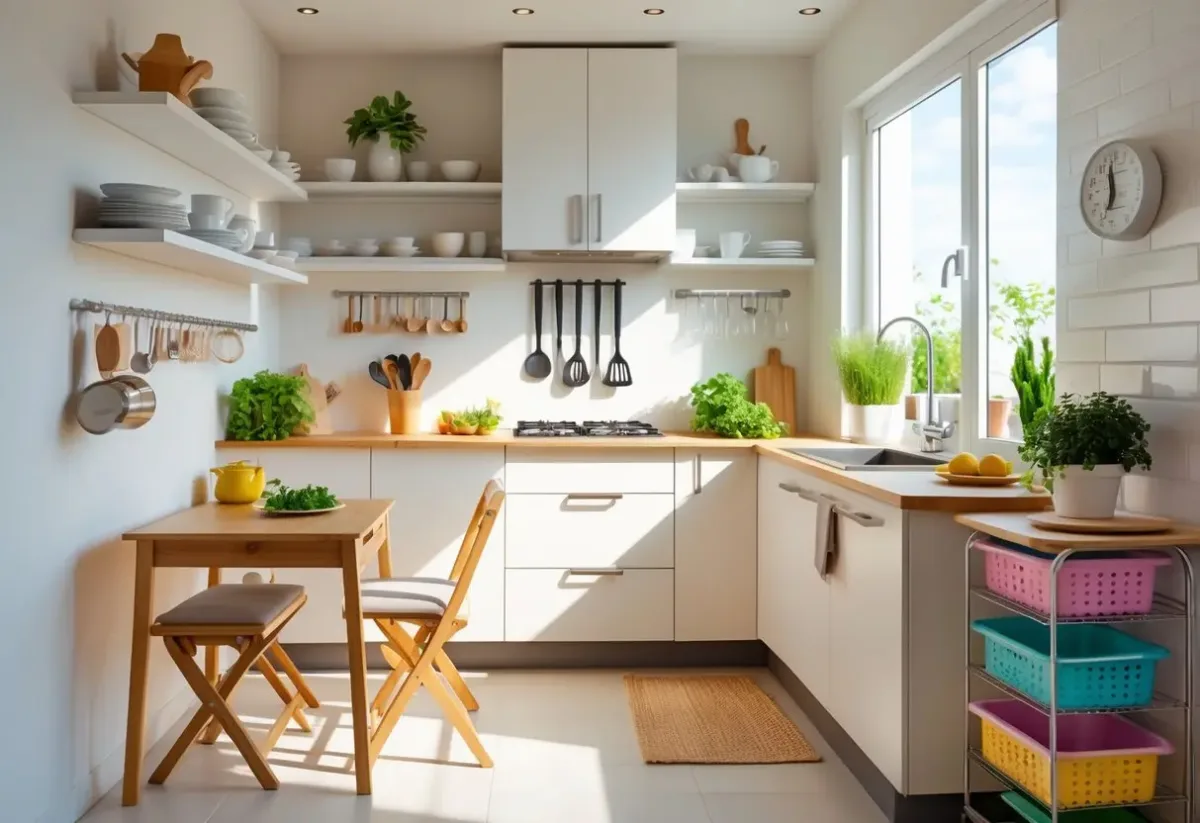
Open shelves give you extra storage without the cost of new cabinets. You can fit shelves above counters, appliances, or even along narrow walls to free up workspace.
Choose sturdy brackets and solid wood or metal shelves to hold dishes, pans, and pantry items. Keep heavy items on lower shelves and lighter items higher to stay safe and balanced.
Use baskets, jars, and matching containers to keep small items neat and visible. Label containers so you find what you need fast and avoid clutter on the counter.
Install a rail or hooks beneath a shelf for mugs, utensils, or a small herb rack. This adds function without taking up more wall space and keeps daily items easy to reach.
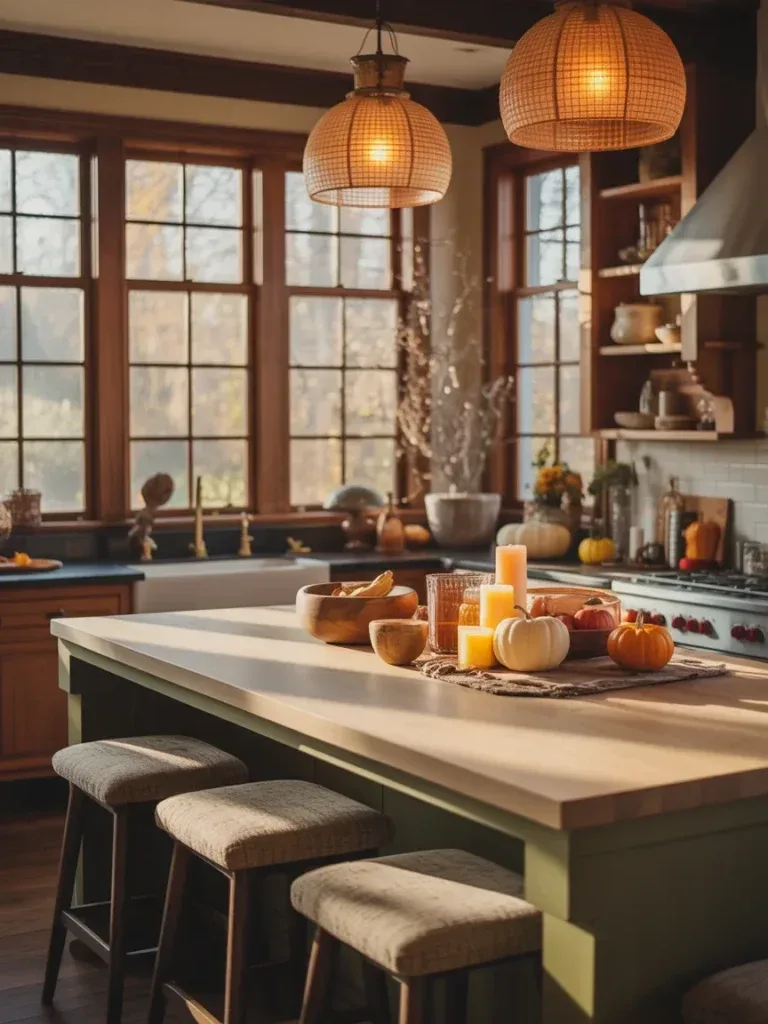
Choose an island that gives you both counter space and storage. You get a prep surface, a place to eat, and room to hide pots, pans, or small appliances.
Look for islands with shelves, drawers, or cubbies built in. Open shelving works well for everyday items, while drawers keep clutter out of sight.
If you rent or have a tiny kitchen, pick a rolling island. You can move it when you need floor space and tuck it against a wall when you don’t.
Keep the design simple to stay on budget. Paint or swap hardware later to refresh the look without replacing the whole piece.
3) Apply peel-and-stick backsplash tiles for an affordable style update
Peel-and-stick tiles let you change your kitchen look without a big budget or a contractor. You can get clean grout-like lines and many finishes, from faux subway tile to metallic or patterned designs.
Measure the wall and buy a few extra sheets so you can cut around outlets and corners. Most sheets stick to smooth, clean surfaces; wipe the wall, let it dry, and use a level to keep rows straight.
Cut tiles with a utility knife or scissors, and press firmly from one side to the other to avoid bubbles. If you rent, these tiles usually remove without heavy damage, making them renter-friendly and low-risk.
They work best on flat areas behind counters and stoves, not on uneven or high-heat spots unless the product says it’s heat-resistant. Choose washable, water-resistant options for near sinks and stoves to keep the finish looking good over time.
4) Opt for bright, light-reflecting paint colors to make the space feel larger.
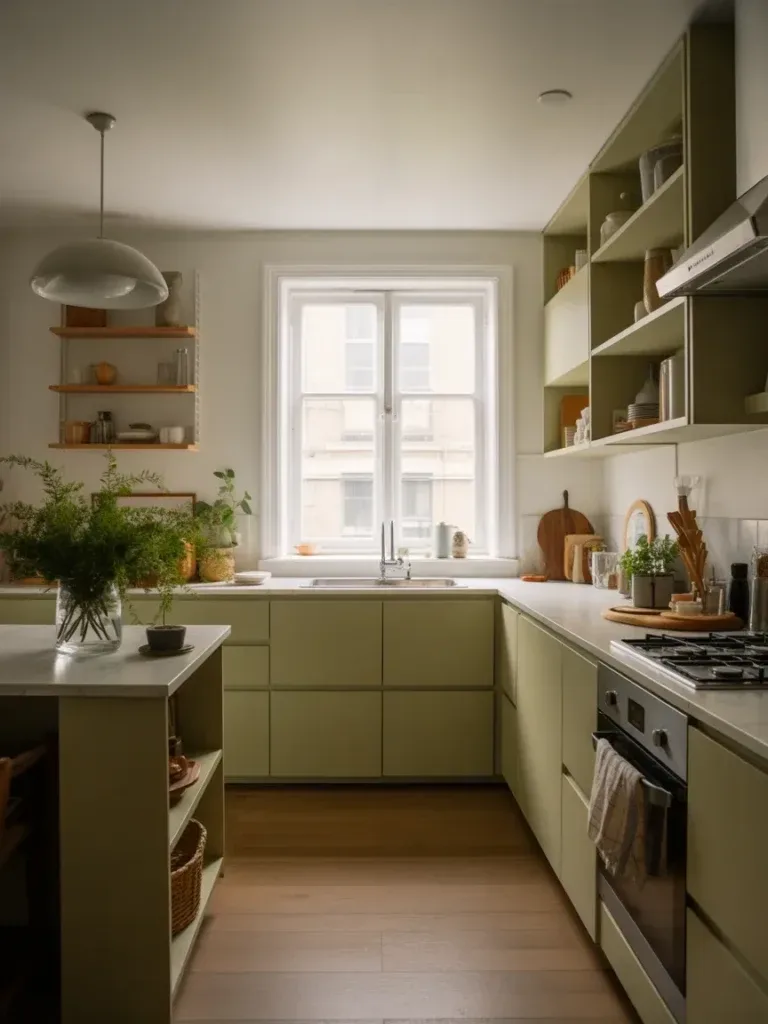
Choose pale colors like soft whites, light grays, or warm neutrals to bounce light around the room. Lighter walls reflect natural and artificial light, so your kitchen will feel airier without structural changes.
Paint the ceiling in the same light shade or a shade lighter than the walls to blur edges and raise the visual height. Uniform color across walls and ceiling reduces contrast and makes the room read as one continuous space.
Avoid very dark or highly saturated hues on all walls, since they absorb light and make the room feel smaller. Instead, use small accents—on a single wall or accessory—to add color without shrinking the room.
Pick a paint with a slight sheen, such as satin or eggshell, for kitchen walls. These finishes reflect more light and clean up easily, which helps both appearance and upkeep on a tight budget.
5) Incorporate under-cabinet lighting to enhance workspace visibility cheaply.
Add under-cabinet lighting to brighten your countertops and reduce shadows while you cook or prep food. LED light strips and puck lights give steady, practical light without using much power.
Choose plug-in or battery-powered options if you rent or want an easy install. Most LED strips stick on with adhesive and cut to fit, so you can place them where you need light most.
Pick a neutral color temperature (around 3000–4000K) for clear, natural-looking light that helps you see ingredients and read recipes. Install lights near the front edge of the cabinet to avoid glare and to illuminate the work surface evenly.
Use dimmable fixtures or add a simple inline switch to control brightness for different tasks. This small upgrade improves function and can make your kitchen feel more modern without a big cost.
6) Replace bulky upper cabinets with glass-front or floating shelves.
Swapping heavy upper cabinets for glass-front units or floating shelves opens visual space and makes a small kitchen feel lighter. You keep storage but reduce the boxed-in look that makes tight kitchens seem smaller.
Glass-front cabinets protect dishes and cut down on dust while still letting light pass through. They work well if you want a neater display without losing closed storage.
Floating shelves cost less and install faster than full cabinets. Use sturdy materials and strong brackets to hold plates and cookware safely.
Organize items by use and color to avoid cluttered shelves. Limit what you display, and store extras in lower cabinets or baskets to keep the shelves tidy and useful.
7) Use drawer organizers and pull-out shelves to boost storage efficiency.
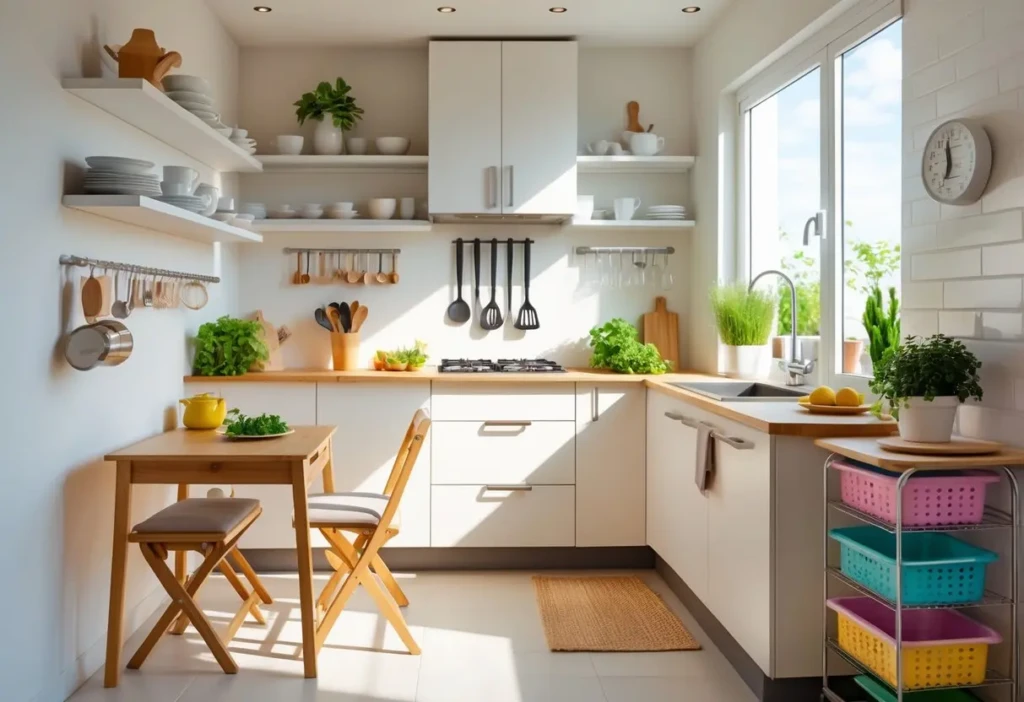
You can fit more into small drawers by adding simple organizers. Use dividers for utensils, trays for lids, and small bins for packets so items stay visible and easy to grab.
Pull-out shelves make deep cabinets usable without crawling on your knees. They let you slide items out for quick access and reduce wasted space at the back.
Choose affordable options like wire pull-outs or plastic drawer inserts. Many clip in without tools, so you can try different layouts until they work for you.
Label bins and keep like items together to cut down on search time. When everything has a place, your kitchen feels bigger and tasks move faster.
8) Add a magnetic knife strip to free up counter and drawer space
Mount a magnetic knife strip on the wall to clear bulky knife blocks and crowded drawers. You save counter space and make your most-used knives easier to reach while you work.
Choose a strip that fits your knife set and the look of your kitchen. Metal or wood finishes work well, and some strips mount under cabinets if wall space is tight.
Install the strip at a safe height, away from kids and traffic paths. Press each blade flat to the magnet so knives sit secure and won’t tilt or slide.
A magnetic strip also helps you see and grab the right tool quickly. It keeps blades dry and visible, which can reduce nicks and help you maintain your knives.
A kitchen layout decides where you store, prep, and cook. It affects how much counter space you have, how easily you move between sink, stove, and fridge, and how many people can use the kitchen at once.
Common Space-Enhancing Mistakes
You may block work zones by squeezing in too many appliances or tall cabinets without measuring clearances. Narrow walkways under 36 inches will force single-file movement and limit access to cabinets and drawers. Placing the fridge far from the prep counter or sink creates extra walking and slowdowns during cooking.
Overhead cabinets that reach the ceiling can feel heavy if they’re not balanced with open shelving or light colors. Deep base cabinets without pull-out shelves hide pots and waste usable space. Avoid islands that don’t allow at least 36 inches of clearance on all sides; they become obstacles instead of helpers.
Quick fixes: swap a door for a pocket or sliding one, replace a deep cabinet with shallow pull-outs, and move frequently used items to lower, reachable zones.
Optimizing Workflow Zones
Set up three main zones: prep (counter + knives + bowls), cook (stove + pans + oils), and clean (sink + dishwasher + trash). Keep those zones within a 4–8 foot triangle when possible to cut steps during meal prep. For one-wall kitchens, create vertical zones left-to-right: fridge, prep, cook, clean.
Use a dedicated landing space of 18–24 inches beside the stove and fridge for putting down groceries and hot pans. Install narrow appliance garages or a pull-out cabinet next to the prep zone to store frequently used tools. Consider open shelves or a magnetic strip above the prep counter for knives and utensils to free drawer space.
If you share the kitchen, add a second prep surface or a drop-leaf cart that tucks away. Use task lighting under cabinets to make small counters feel larger and reduce errors while you work.
Planning Small Kitchen Upgrades on a Budget
Focus on changes that give you more storage, better flow, or updated surfaces without full demolition. Pick one or two targeted projects so you can afford quality materials and keep the rest DIY.
Prioritizing High-Impact Changes
Start by listing problems that affect daily use: lack of counter space, poor lighting, broken cabinet doors, or no pantry. Tackle the top two issues first so you see real improvement fast.
Choose upgrades that change function and look. Swap old cabinet hardware, add a bright LED under-cabinet light, or install a slim rolling island. These moves cost little but make cooking and cleanup easier.
Think about durability where you use the most work: counters, sink area, and floor. Spend a bit more on a durable countertop patch or a water-resistant floor tile in the most used zone. Save on visible finishes by painting cabinets or adding peel-and-stick backsplash tile.
Use a simple decision rule: impact per dollar. If a $100 change gives you daily time savings or clear extra storage, it ranks higher than a $1,000 cosmetic change.
Budget-Friendly Design Resources
Use free tools to plan layout and materials before you buy. Try room planner apps that let you place cabinets and appliances to test clearances. Take photos and measure so you order the right sizes.
Shop leftover or clearance materials: end-of-line tiles, open-box appliances, and factory-second cabinets. You can save 30–60% this way. Check local salvage yards and Facebook Marketplace for used sinks and ranges in good condition.
Follow how-to videos for tasks like painting cabinets, installing new hardware, or fitting peel-and-stick flooring. For electrical or plumbing changes, get one written quote from a licensed pro to compare with DIY time and risk.
Keep a short checklist when you shop: measurements, finish samples, return policy, and installation needs. That prevents costly mistakes and keeps the project on budget.
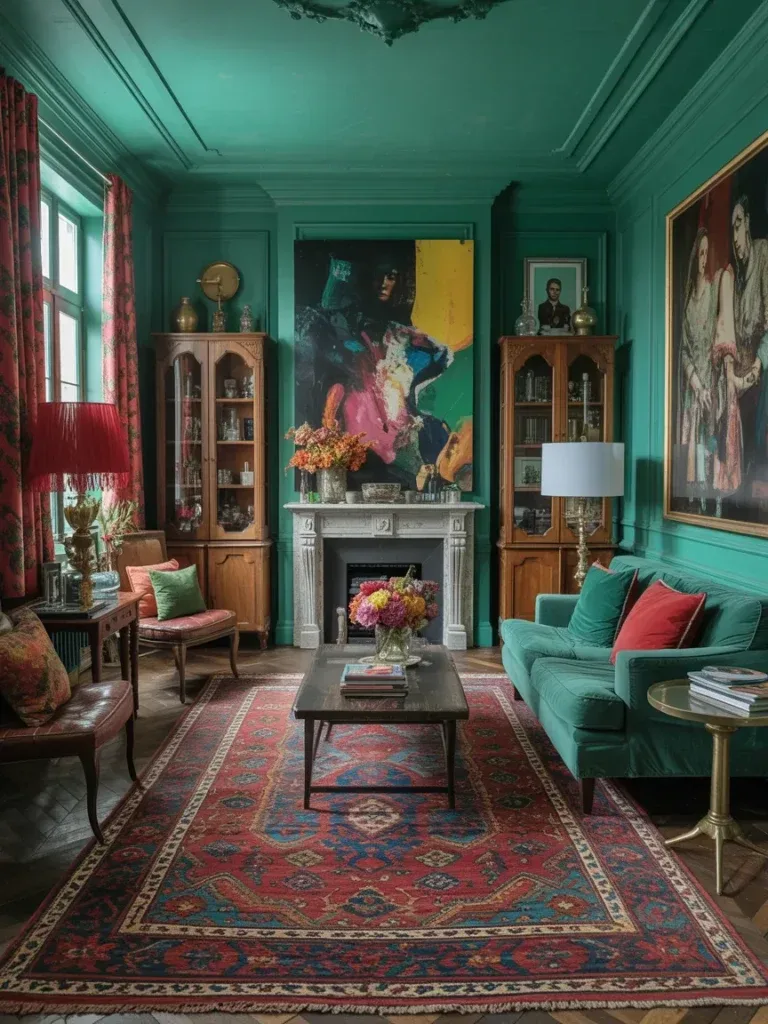
Listen to this article 10 10 0:00 / 0:00 Speed 0.75×1×1.25×1.5×2× Your kitchen does a lot more than hold groceries and dirty dishes. It serves as the heart of the home, the place where meals come together, conversations happen, and late-night snack decisions get made. So why settle for a cookie-cutter design when you can…
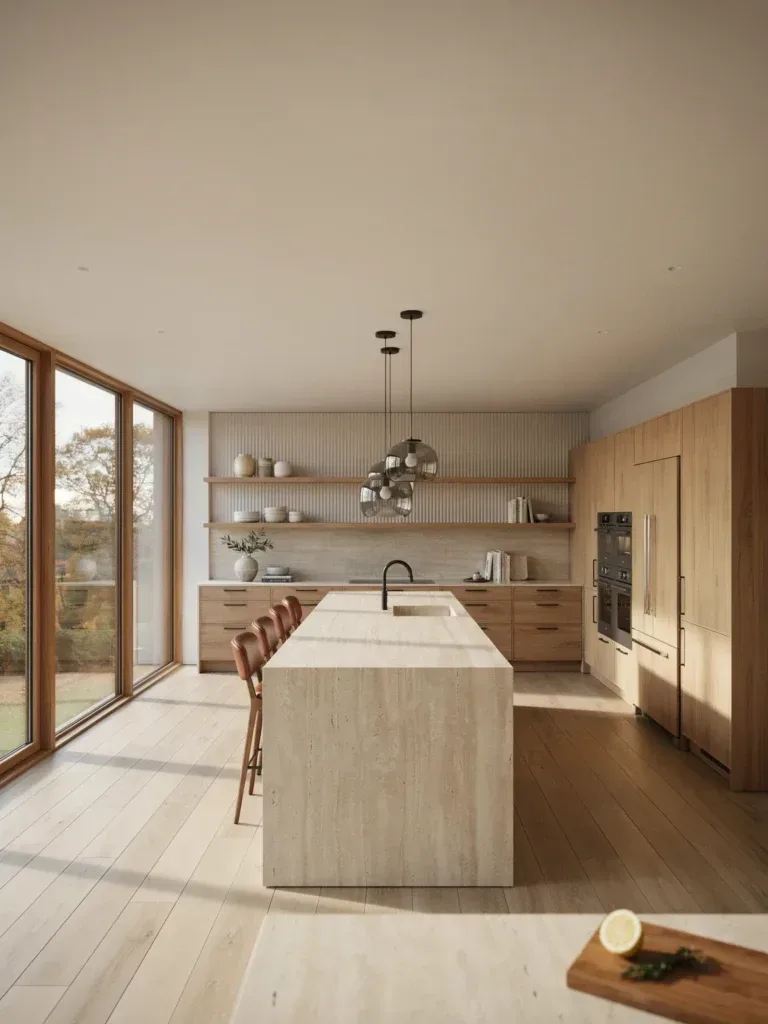
Listen to this article 10 10 0:00 / 0:00 Speed 0.75×1×1.25×1.5×2× A modern wood kitchen hits that sweet spot between cozy and cutting-edge. It brings in rich natural textures while still looking clean, polished, and effortlessly stylish. If sterile all-white kitchens feel a little tired to you, these ideas might be exactly what your home…
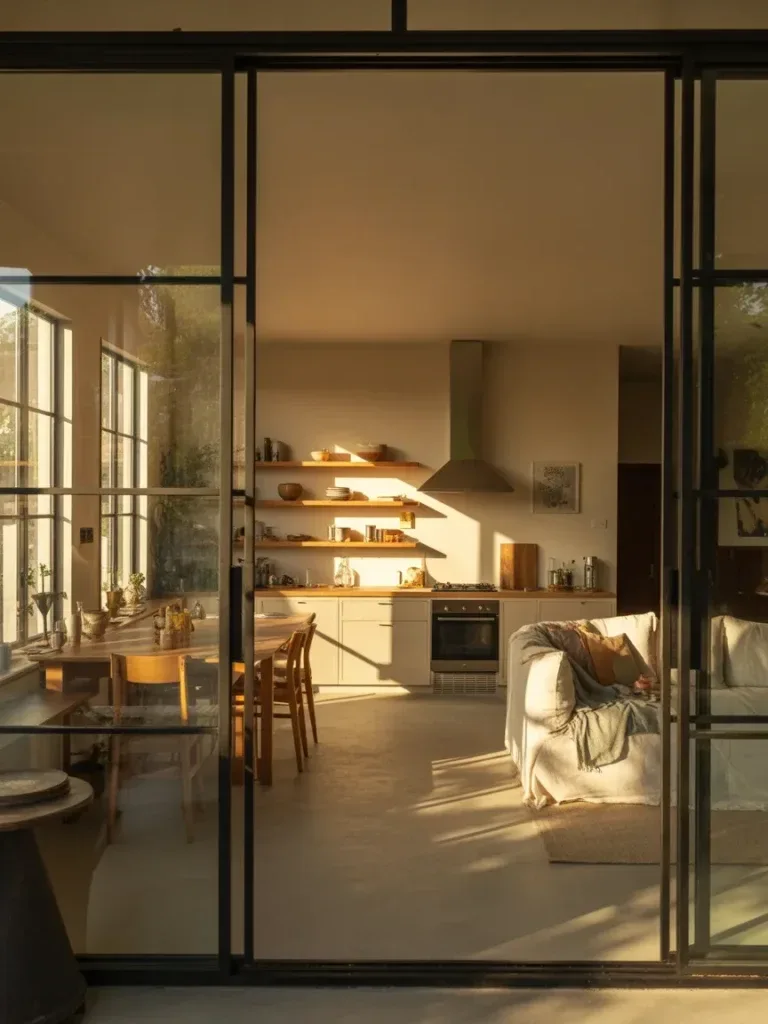
Listen to this article 10 10 0:00 / 0:00 Speed 0.75×1×1.25×1.5×2× You’ve probably stood in a house and thought, “Wow, this feels huge”… or “Why does this feel like a maze?” That’s the power of layout. The debate between open concept vs separate kitchen living room isn’t just about style—it’s about how you actually live…
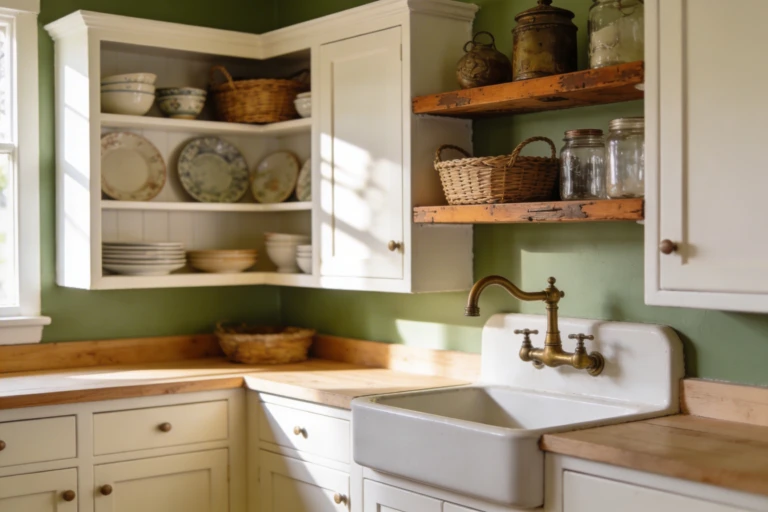
Listen to this article 10 10 0:00 / 0:00 Speed 0.75×1×1.25×1.5×2× These tiny farmhouse kitchens prove you don’t need a big budget to get big charm. Quick wins, smart buys, and DIY tweaks will have you cooking in a space you actually love. Let’s dive into seven small, budget-friendly ideas that feel luxe without the…
Listen to this article 10 10 0:00 / 0:00 Speed 0.75×1×1.25×1.5×2× Fall turns every kitchen into the unofficial headquarters of cozy season. One minute you’re lighting a cinnamon candle, and the next you’re emotionally attached to tiny decorative pumpkins. Honestly, the kitchen island becomes the star of the whole house this time of year. If…
Listen to this article 10 10 0:00 / 0:00 Speed 0.75×1×1.25×1.5×2× If your kitchen feels cramped, chaotic, or just plain boring, May is the perfect excuse to give it a glow-up. Warmer days, brighter light, and fresh energy? Yeah, your space deserves to match that vibe. The good news: you don’t need a full renovation…


![[UPGRADE] 2 Pack Square Super Wide Mouth Airtight Glass Storage J...](https://m.media-amazon.com/images/I/41ROB39Uh8L._AC_.jpg)